Continuing on with the outdoor kitchen, we’ve started in on some “custom, built-in” (that’s city-speak for “homemade”) cabinets. Melissa and I laid out a basic design in pencil on the decking soon after we finished that part, so we had a rough idea of the overall size and shape.
Framing
The first thing we did was build the bottom form, notching it around the cedar posts…and making sure things were generally square. We decided to use 2×3’s to do the build because they’re cheaper than 2×4’s, and they’re plenty strong enough for the job. The big decision here was how deep we (we being Melissa) wanted the cabinets to be. We knew we wanted them to be at least general cabinet depth, but we had a few specific pieces we wanted to store. One of those pieces is the rolling ice chest you can see in the picture below. Ultimately, we decided on a 26 inch depth from front to back, which equates to a 21 inch “gap” from front to back, which you can see in the picture below.
Once we had the bottom form in place, we had to decide how tall we wanted the counter top to be. Ultimately, we decided on a 36 inch height. The next step was to build corner pieces consisting of two 33 inch 2×3’s. We eyed them up, clamped them down, then screwed them together. To attach them to the base, we did 45 degree screws, one in each end of the corner.
Next came the top, which was pretty easy, since it was essentially the same as the bottom. We attached the top rails screwing straight down into the corner posts and intermediate supports. When we had everything framed in, we squared it up and screwed it down into the deck.
Tiling
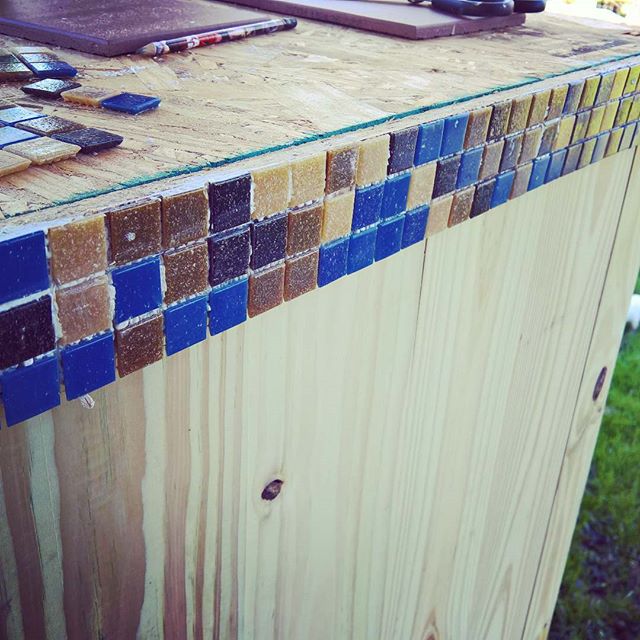
Cutting the particle board for the top was fairly easy – just a few notches for the cut outs where the cedar posts are. And once we had the top screwed into place, we added a small strip of fascia, some mastic, and laid down the front accent tiles.
One of the more time-consuming parts was laying out the tile for the counter top. Some might say I’m slightly OCD when it comes symmetry and balance. So one of our strategies to aid (confuse?) my critical eye with respect to grout lines – which cannot possibly be straight because we’re using handmade tiles – was to stagger the rows of tiles. That way, any imperfection gets masked enough by the offset tile for my eyes to calm down.
We started in the corner to make sure we had a row of full tiles in each direction…
…and that gave us an interesting opportunity in the second row. To deal with the overlapping offset tiles, we simply cut out the overlapping pieces. Then, we were left with a roughly 4×4 inch void in that second row. We decided to use a blue Talavera accent tile left over from the remodel of the kitchen in our last home. A quick trim on the tile saw and it fit right into place. Almost looks like we planned it that way from the beginning, doesn’t it?
We did make one (giant) mistake. You see that hole in the counter top to the left of the dishwasher where the sink is going? Neither do I…. So, we ordered a vessel sink that will sit on top of the counter and only need a small cutout for the drain, plus a couple small cutouts for the faucet. In the end, it worked out fine. Turns out we both like the idea of the vessel sink better anyway.
Toe kick, doors and shelves are on my to-do list. Melissa and the kids are working on “custom, built-in” mosaics for the back. More to come….


