More Outdoor Kitchen

Work continues…slowly but surely. Below is the back of the smoker storage area.

And here’s the front. The smoker sits well in this area, and once we get electricity wired up, will be very convenient.

And work on the second mosaic has started. This one features wildflowers in the meadow, and a pond. There’ll be a tractor in there, and we’ll have Van Gogh style swirlies in the sky once it’s all done.

Landing Lights

Continuing work on the outdoor kitchen. Today, Melissa and I built the landing transition step between the front porch and the outdoor kitchen. All things considered, it was a fairly straightforward 4-foot-by-8-foot platform placed on 10-inch-by-10-inch concrete pier footings. Altogether, it was a little over $100 in materials, and was actually a fun project to do together.

After we had the landing finished, we hung some old ceiling fans in the outdoor kitchen. These are fans that we replaced with remote control fans in the inside kitchen and dining room. Haven’t hooked up electricity yet, but they look good nonetheless.

One Down…

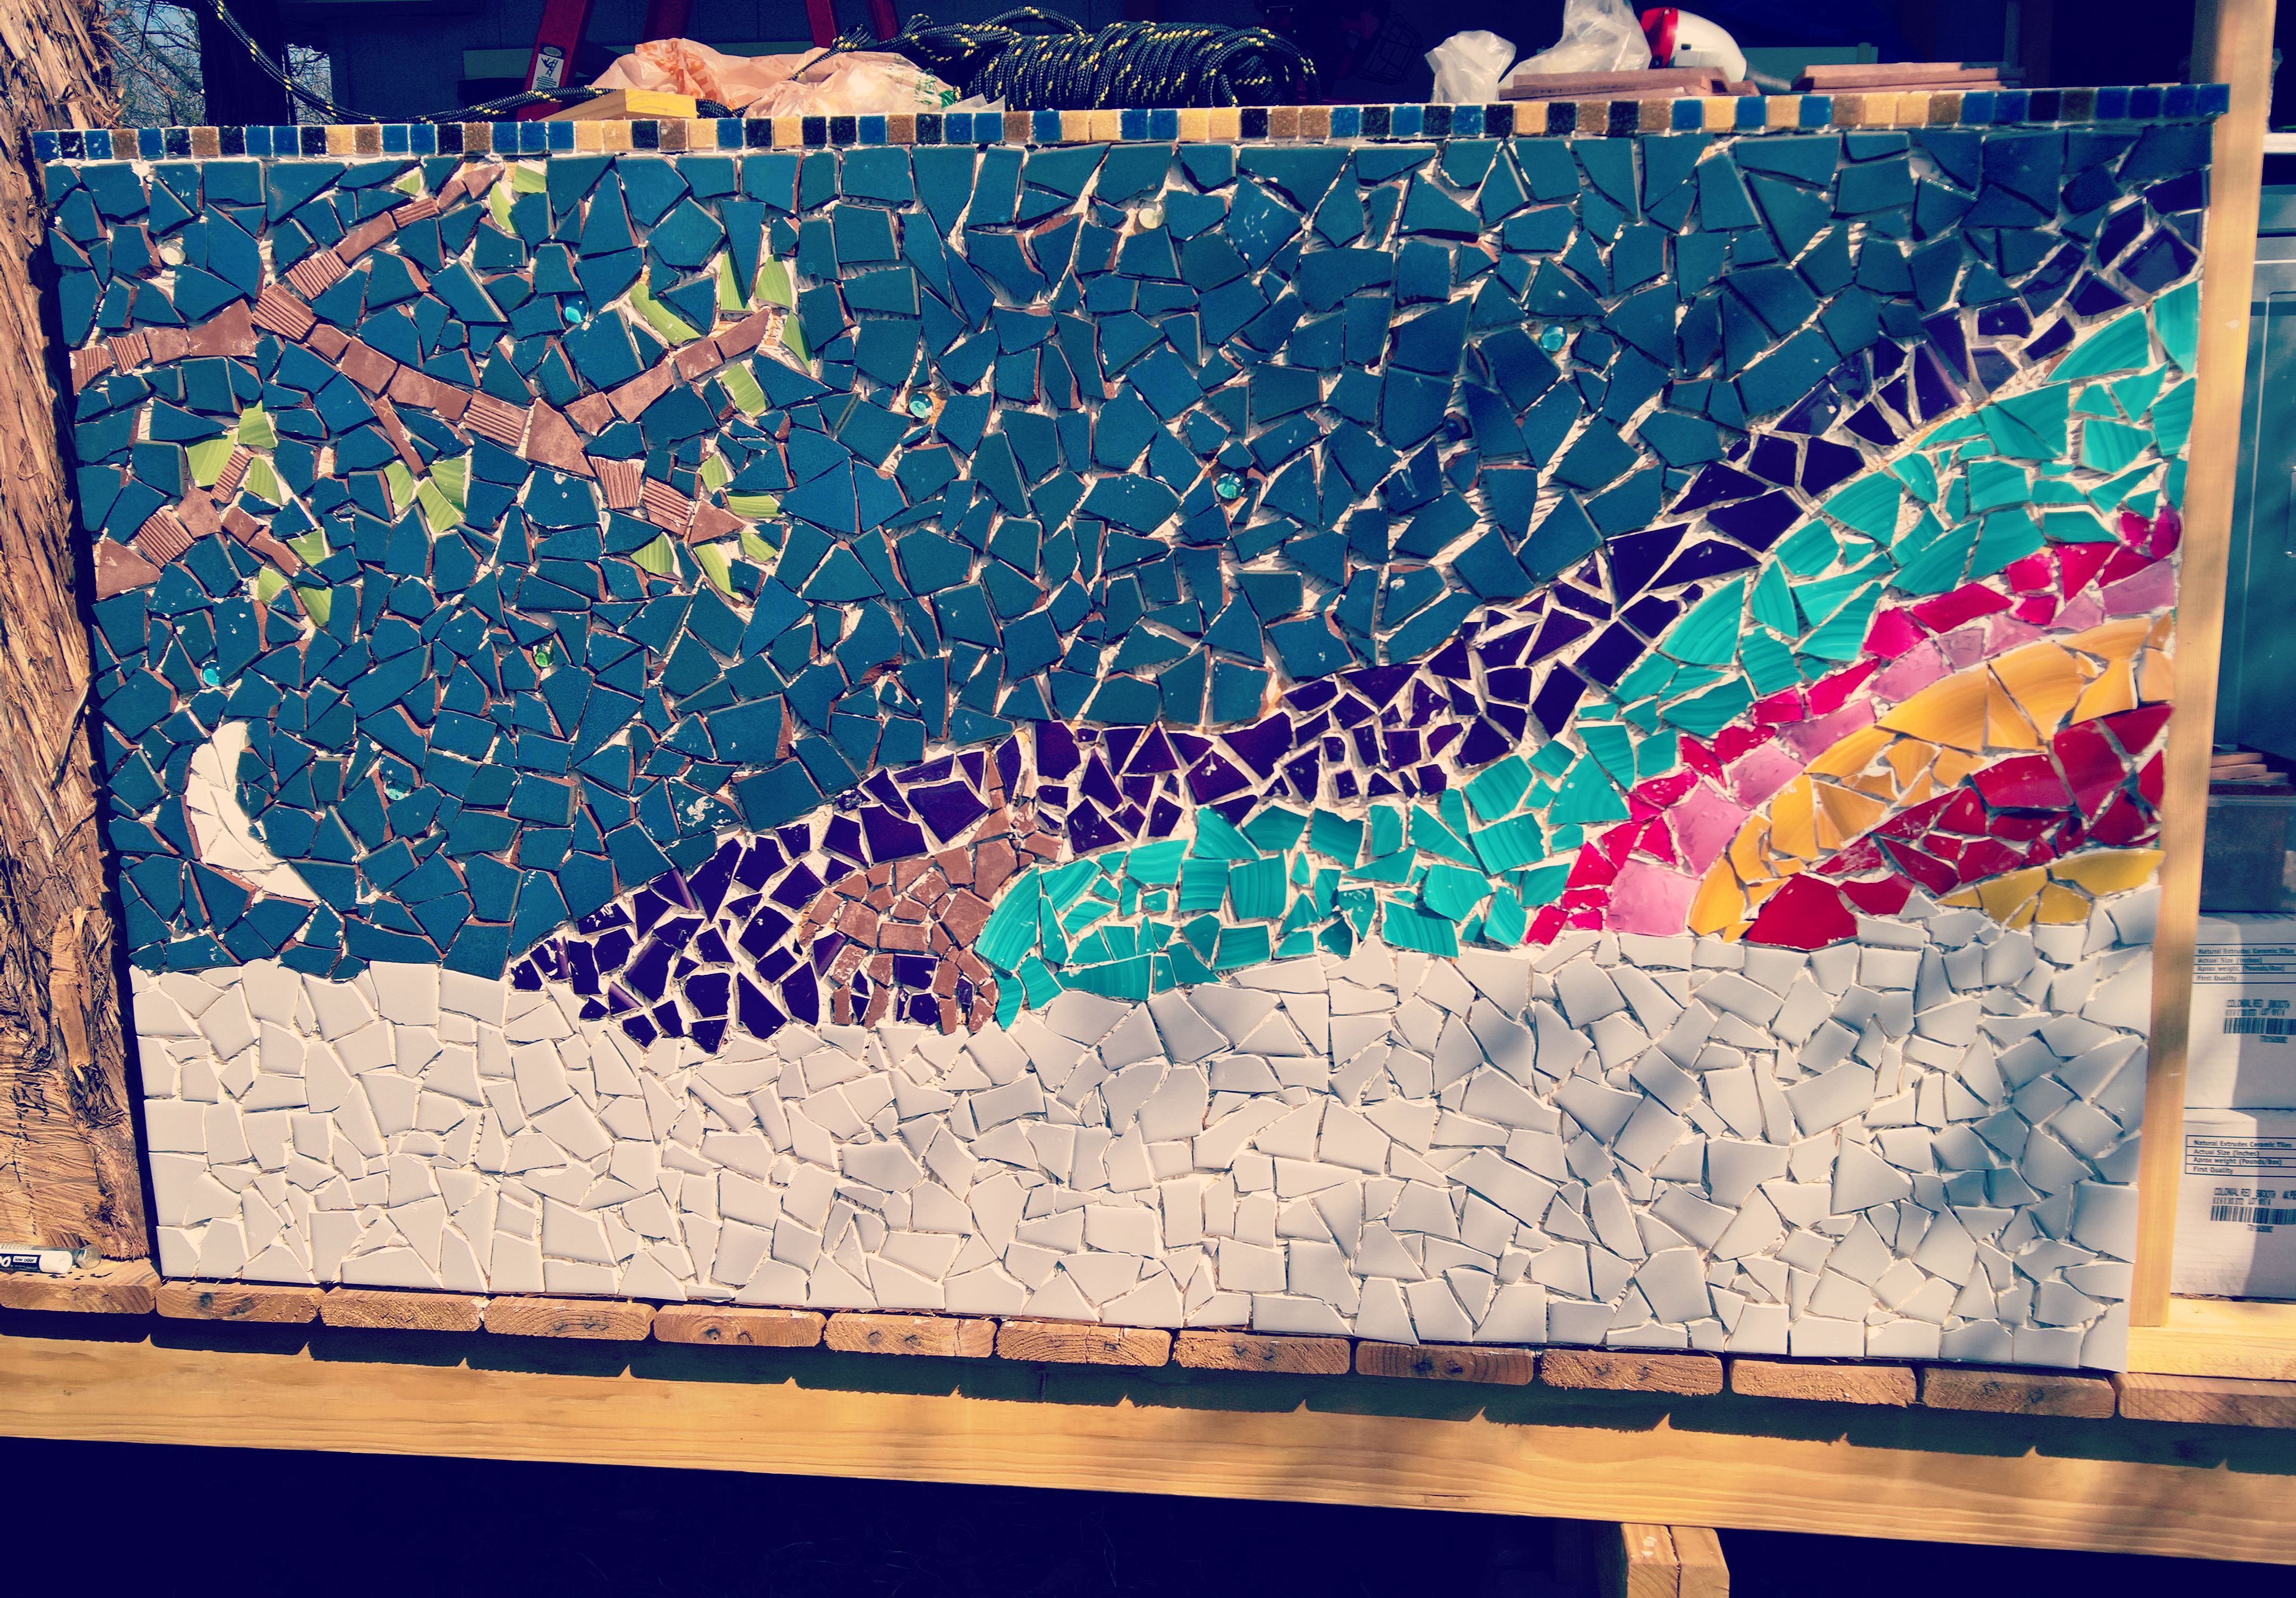
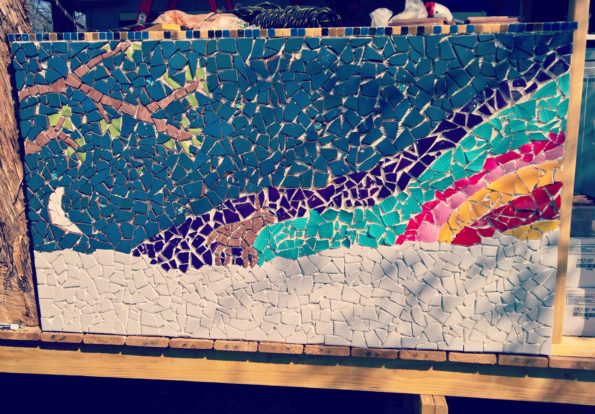
Melissa and the kids finished up the tiles on the first of three mosaics adorning the outside of the cabinets on our outdoor kitchen. Still needs grout and sealer, but the puzzle work on the roughly 3′ high by 5′ wide mosaic is done!

This one is “Sunrise,” and it’s taken from an amalgamation of several of the beautiful sunrises we’ve experienced here on the property. “Sunrise” features the sun creeping over the misty, dew-covered ground, casting deep and light tones across the sky as the crescent moon is setting. Look closely, and you’ll see some stars in the sky…and Chocolate the donkey taking a stroll in the morning dew.

Mosaic

When we remodeled the kitchen at our last house, we took out the tiny excuse for a pantry, and instead turned it into an alcove for the refrigerator. Except that the refrigerator was about an inch too wide to fit. So we took out the wall, turned the studs sideways, and slapped a sheet of plywood over it. Then, to cover the plywood, Melissa added a beautiful sunflower mosaic, made from leftover tiles and broken plates from Dollar Tree.

When we started the outdoor kitchen here at Livin’ The 10, we knew we wanted something unique. We also needed something weather-resistant on the back of the cabinets. We talked about several options, but quickly settled on doing a set of mosaics. Today, we started in on the first one.

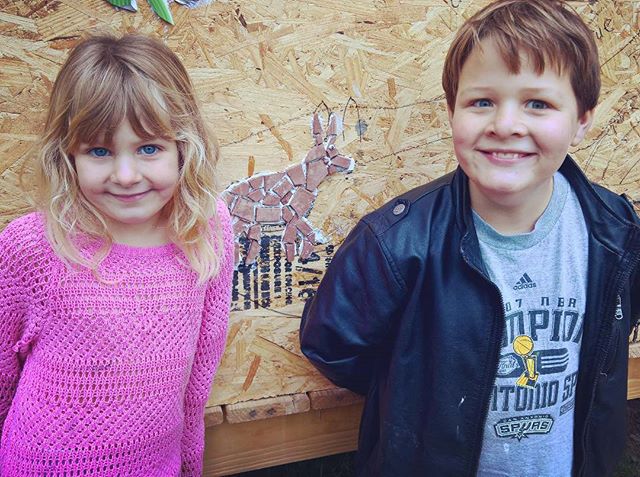
Below, Melissa is buttering the outline for Chocolate the Donkey, who will be appearing in our Sunrise mosaic.

Eryk and Macy helped break up the tiles for Chocolate’s body from some scraps we had leftover from the top. Below, they’re showing off their handiwork.

Once Chocolate was set, we were off to the sunrise. If you’ve seen any of the sunrise photos from the blog, you know we have the most beautiful sunrises here at Livin’ The 10. Here’s Eryk setting some of the turquoise band…

And Iain helping out, too.

Iain looks just like me, but he acts just like Melissa. This photo makes me think of that television scene in Forest Gump….

Macy did her share as well.

It’s neat to watch your kids put together what amounts to a jigsaw puzzle without being able to see the final picture, and having to literally make up the pieces as you go along. They did a great job!


Our Cabinet Pick Trumps Them All

Continuing on with the outdoor kitchen, we’ve started in on some “custom, built-in” (that’s city-speak for “homemade”) cabinets. Melissa and I laid out a basic design in pencil on the decking soon after we finished that part, so we had a rough idea of the overall size and shape.

Framing

The first thing we did was build the bottom form, notching it around the cedar posts…and making sure things were generally square. We decided to use 2×3’s to do the build because they’re cheaper than 2×4’s, and they’re plenty strong enough for the job. The big decision here was how deep we (we being Melissa) wanted the cabinets to be. We knew we wanted them to be at least general cabinet depth, but we had a few specific pieces we wanted to store. One of those pieces is the rolling ice chest you can see in the picture below. Ultimately, we decided on a 26 inch depth from front to back, which equates to a 21 inch “gap” from front to back, which you can see in the picture below.

Once we had the bottom form in place, we had to decide how tall we wanted the counter top to be. Ultimately, we decided on a 36 inch height. The next step was to build corner pieces consisting of two 33 inch 2×3’s. We eyed them up, clamped them down, then screwed them together. To attach them to the base, we did 45 degree screws, one in each end of the corner.

Next came the top, which was pretty easy, since it was essentially the same as the bottom. We attached the top rails screwing straight down into the corner posts and intermediate supports. When we had everything framed in, we squared it up and screwed it down into the deck.

Tiling

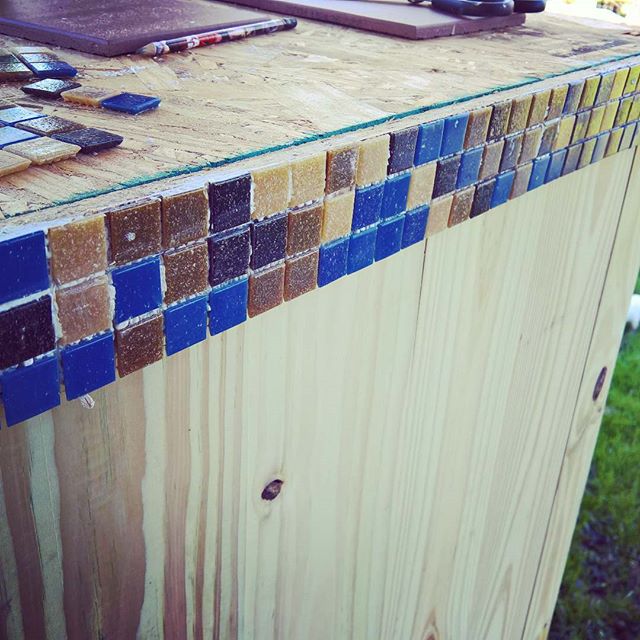
Cutting the particle board for the top was fairly easy – just a few notches for the cut outs where the cedar posts are. And once we had the top screwed into place, we added a small strip of fascia, some mastic, and laid down the front accent tiles.

One of the more time-consuming parts was laying out the tile for the counter top. Some might say I’m slightly OCD when it comes symmetry and balance. So one of our strategies to aid (confuse?) my critical eye with respect to grout lines – which cannot possibly be straight because we’re using handmade tiles – was to stagger the rows of tiles. That way, any imperfection gets masked enough by the offset tile for my eyes to calm down.

We started in the corner to make sure we had a row of full tiles in each direction…

…and that gave us an interesting opportunity in the second row. To deal with the overlapping offset tiles, we simply cut out the overlapping pieces. Then, we were left with a roughly 4×4 inch void in that second row. We decided to use a blue Talavera accent tile left over from the remodel of the kitchen in our last home. A quick trim on the tile saw and it fit right into place. Almost looks like we planned it that way from the beginning, doesn’t it?

We did make one (giant) mistake. You see that hole in the counter top to the left of the dishwasher where the sink is going? Neither do I…. So, we ordered a vessel sink that will sit on top of the counter and only need a small cutout for the drain, plus a couple small cutouts for the faucet. In the end, it worked out fine. Turns out we both like the idea of the vessel sink better anyway.

Toe kick, doors and shelves are on my to-do list. Melissa and the kids are working on “custom, built-in” mosaics for the back. More to come….

Raising the Metal Roof

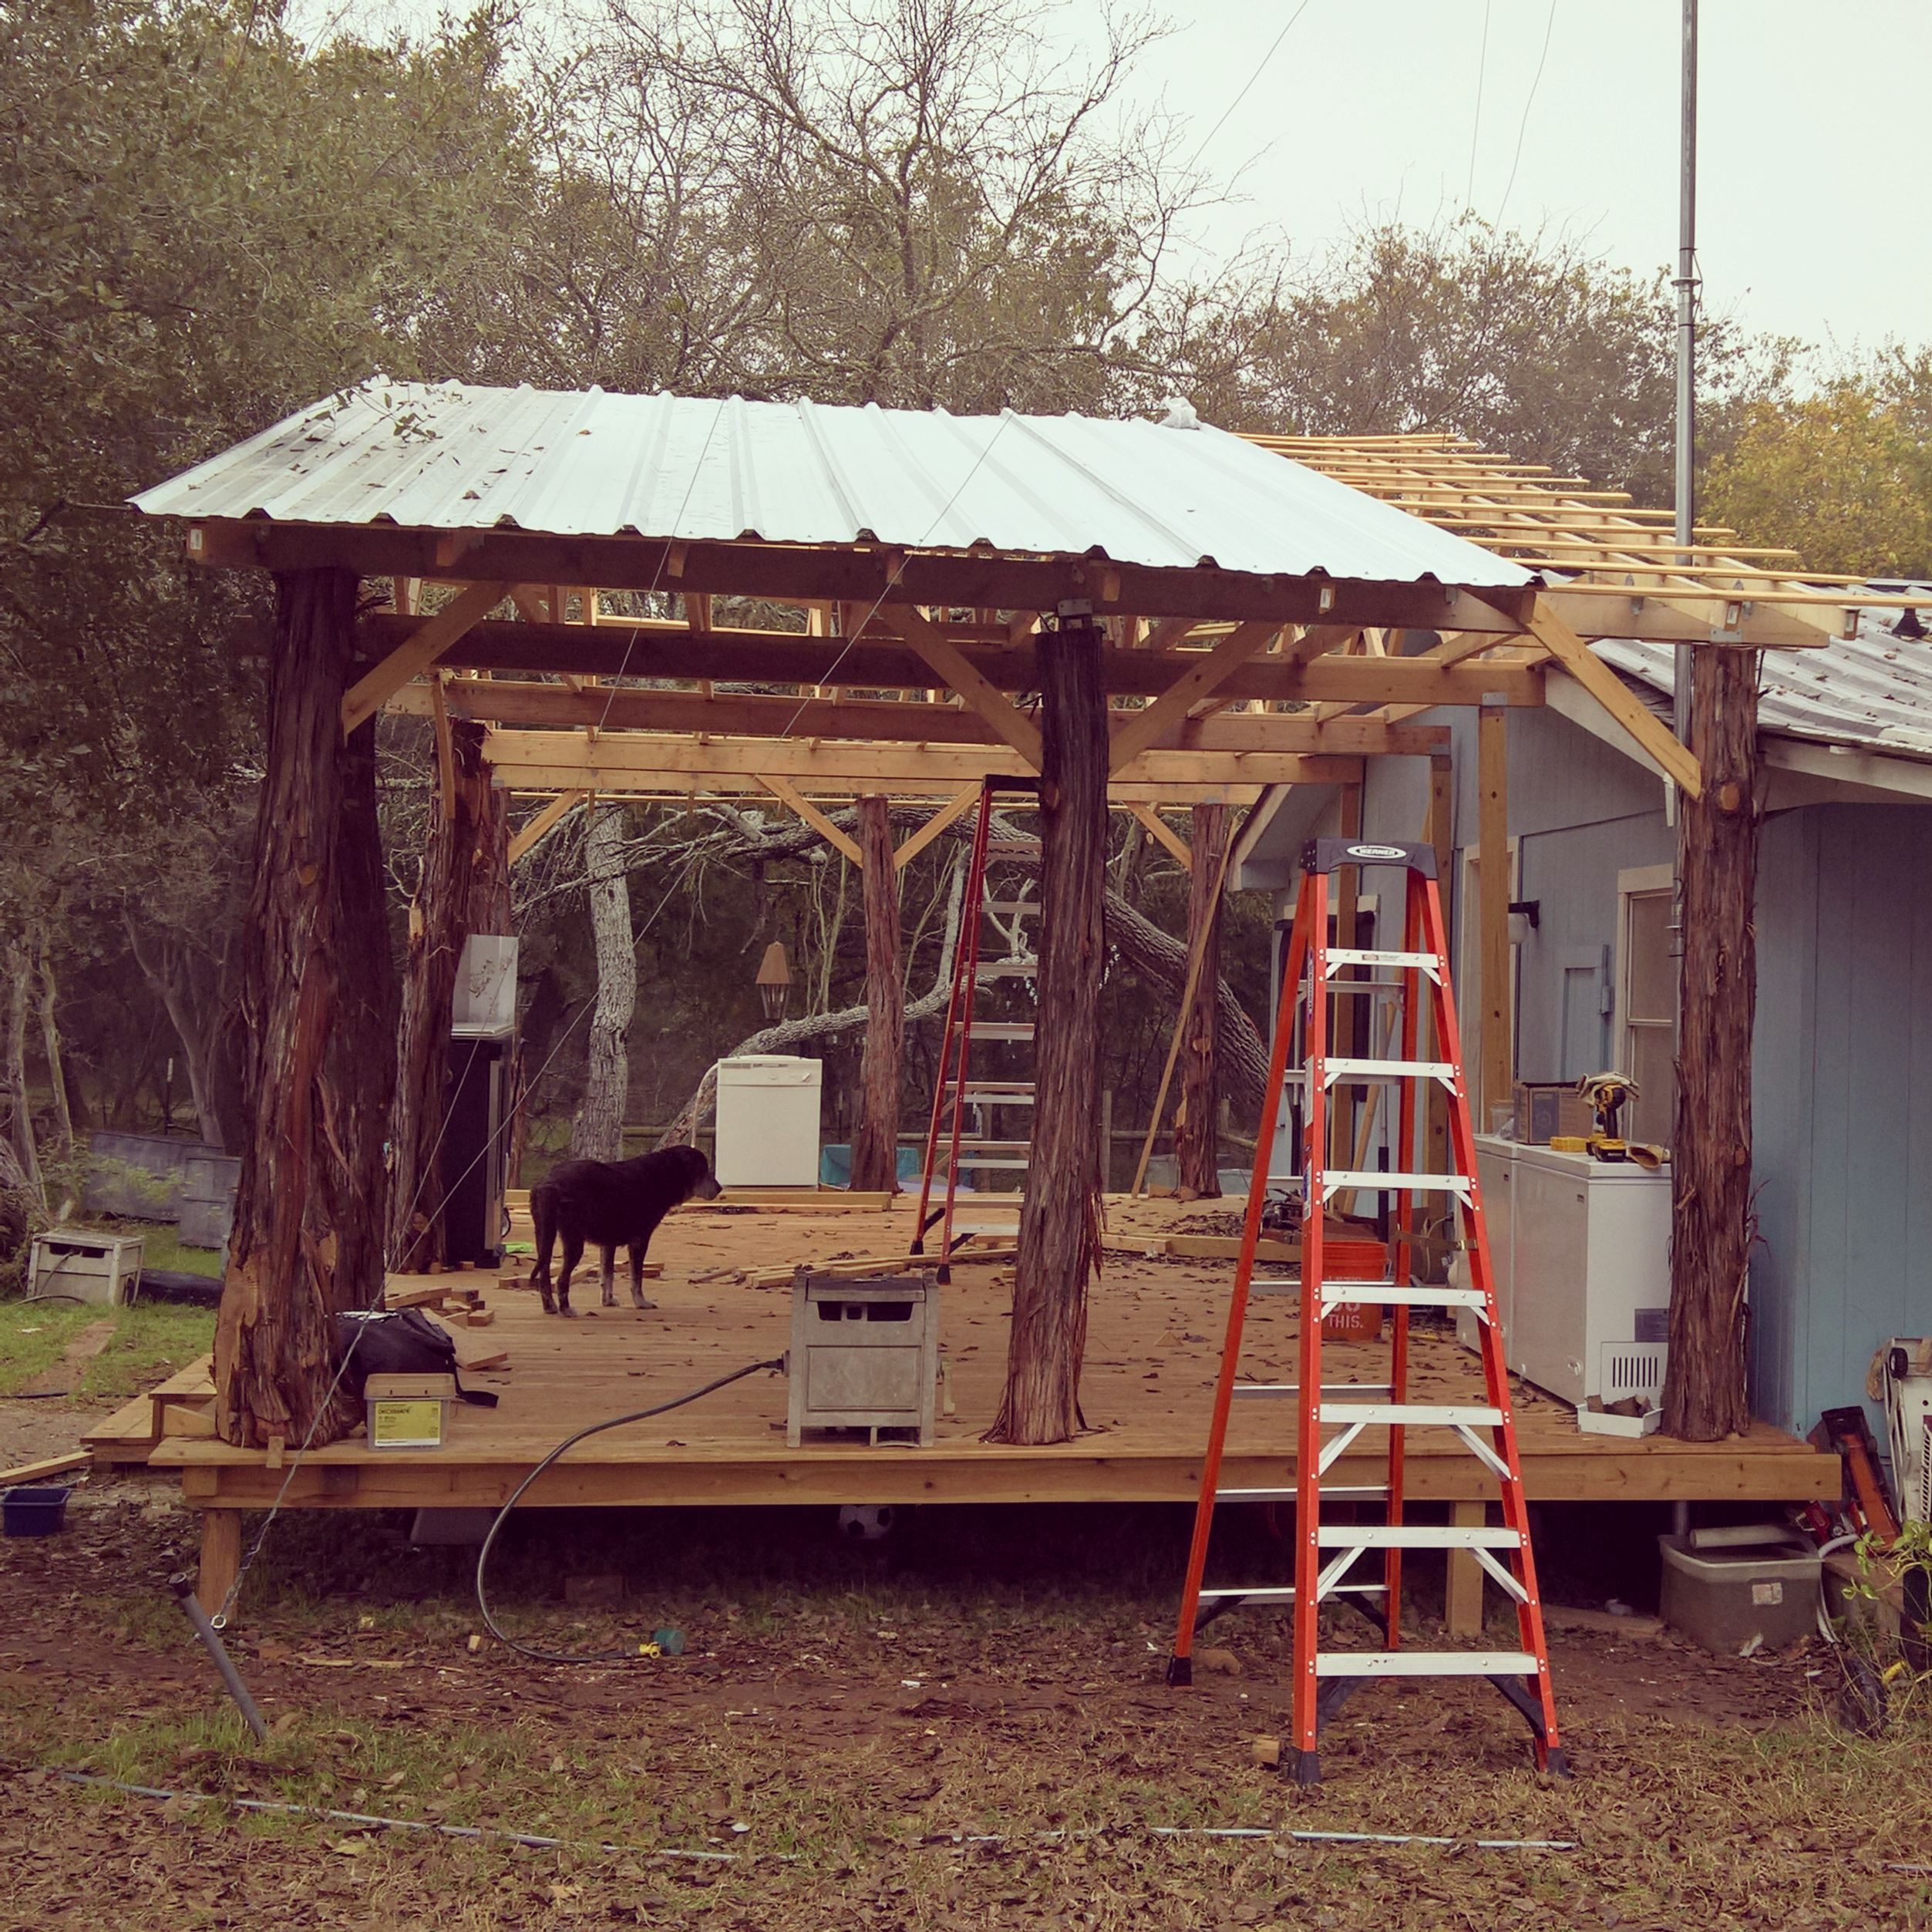
After a few back-and-forth’s with the delivery guy, and after a few weekends of rain…drum roll please…we have a metal roof! To my surprise, it was easier than I thought it would be. Of course, that could be due in part to the fact that Melissa did a lot of the work. Melissa and I got nearly all the panels in place in a single day.

We ordered panels from a guy we found on Craigslist. His prices were fantastic – just about half what we would have spent at McCoy’s, Lowes or Home Depot – plus, he included the screws. As I mentioned, there were some delivery delays, but everything worked out.

The roofing guy fabricated the panels so that there would be a single panel on each side of the peak. Each of the 12 panels is 20′ long and roughly 3′ wide. And man, let me tell you, them suckers is heavy! To get them on the roof, we first lined them up on the ground. Then, lifting them over her head, Melissa climbed the ladder to get the edge of the panel up on the trusses. Then I walked the panels up the roof – one of the few times my 300-plus pounds was actually a benefit. Melissa then climbed into the rafters and secured the peak edge while I held things in place. Once she secured the peak edge, I secured the drip edge, and we were off to get the next panel. After they were all up, Melissa went back and screwed down the panels into the furring strips every foot or so.

Bill Hancock – who has been a tremendous help throughout the project – appeared once again to help with the cuts around the pole (for rural internet) as well as the ridge cap. You can see Bill and Melissa below prepping the peak edge for the ridge cap.

We Got Stairs!

2937cc45-41e8-4408-b370-d8bd95238bf0

Another day project on the outdoor kitchen. Finally got tired enough of hearing my bones creek every time I lurched up onto (or down from) the deck. First time I’ve ever built stairs, and I’m sure if you peered in from the other side, you’d be aghast at what you saw. But, hey, they hold my 300+ pounds without any shimmying or shaking, and that’s good enough for me.

Posts, Rafters & Furring Strips…Oh My

e8da518b-52ee-4652-91f7-d21763a25ea9

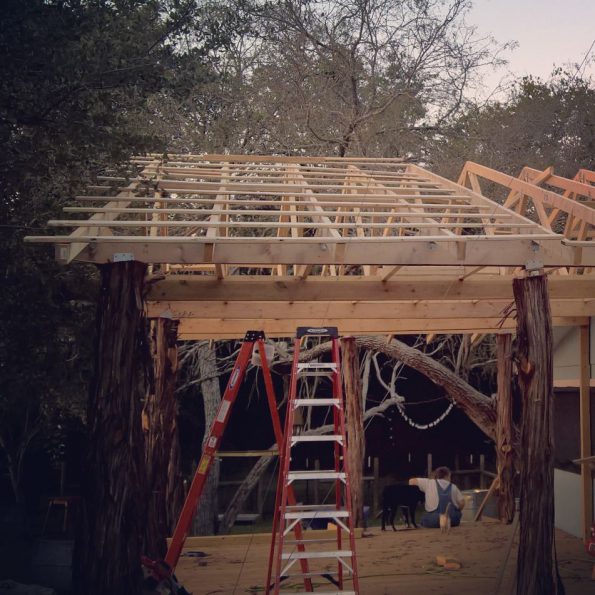
Our weekend project…more work on the outdoor kitchen. This weekend, we were able to get the remaining cedar posts up as well as the remaining two rafters. Finished out the rafters with spacers for extra stability, then began on the furring strips (below). Thirty-three more furring strips, and we’ll be ready for the metal roofing.

591ca7b6-bead-4c57-bf7d-f403e4431afd

Raising the Rest of the Roof

C878F160-F9FF-4BFE-895C-7D6C92FD7800.jpg

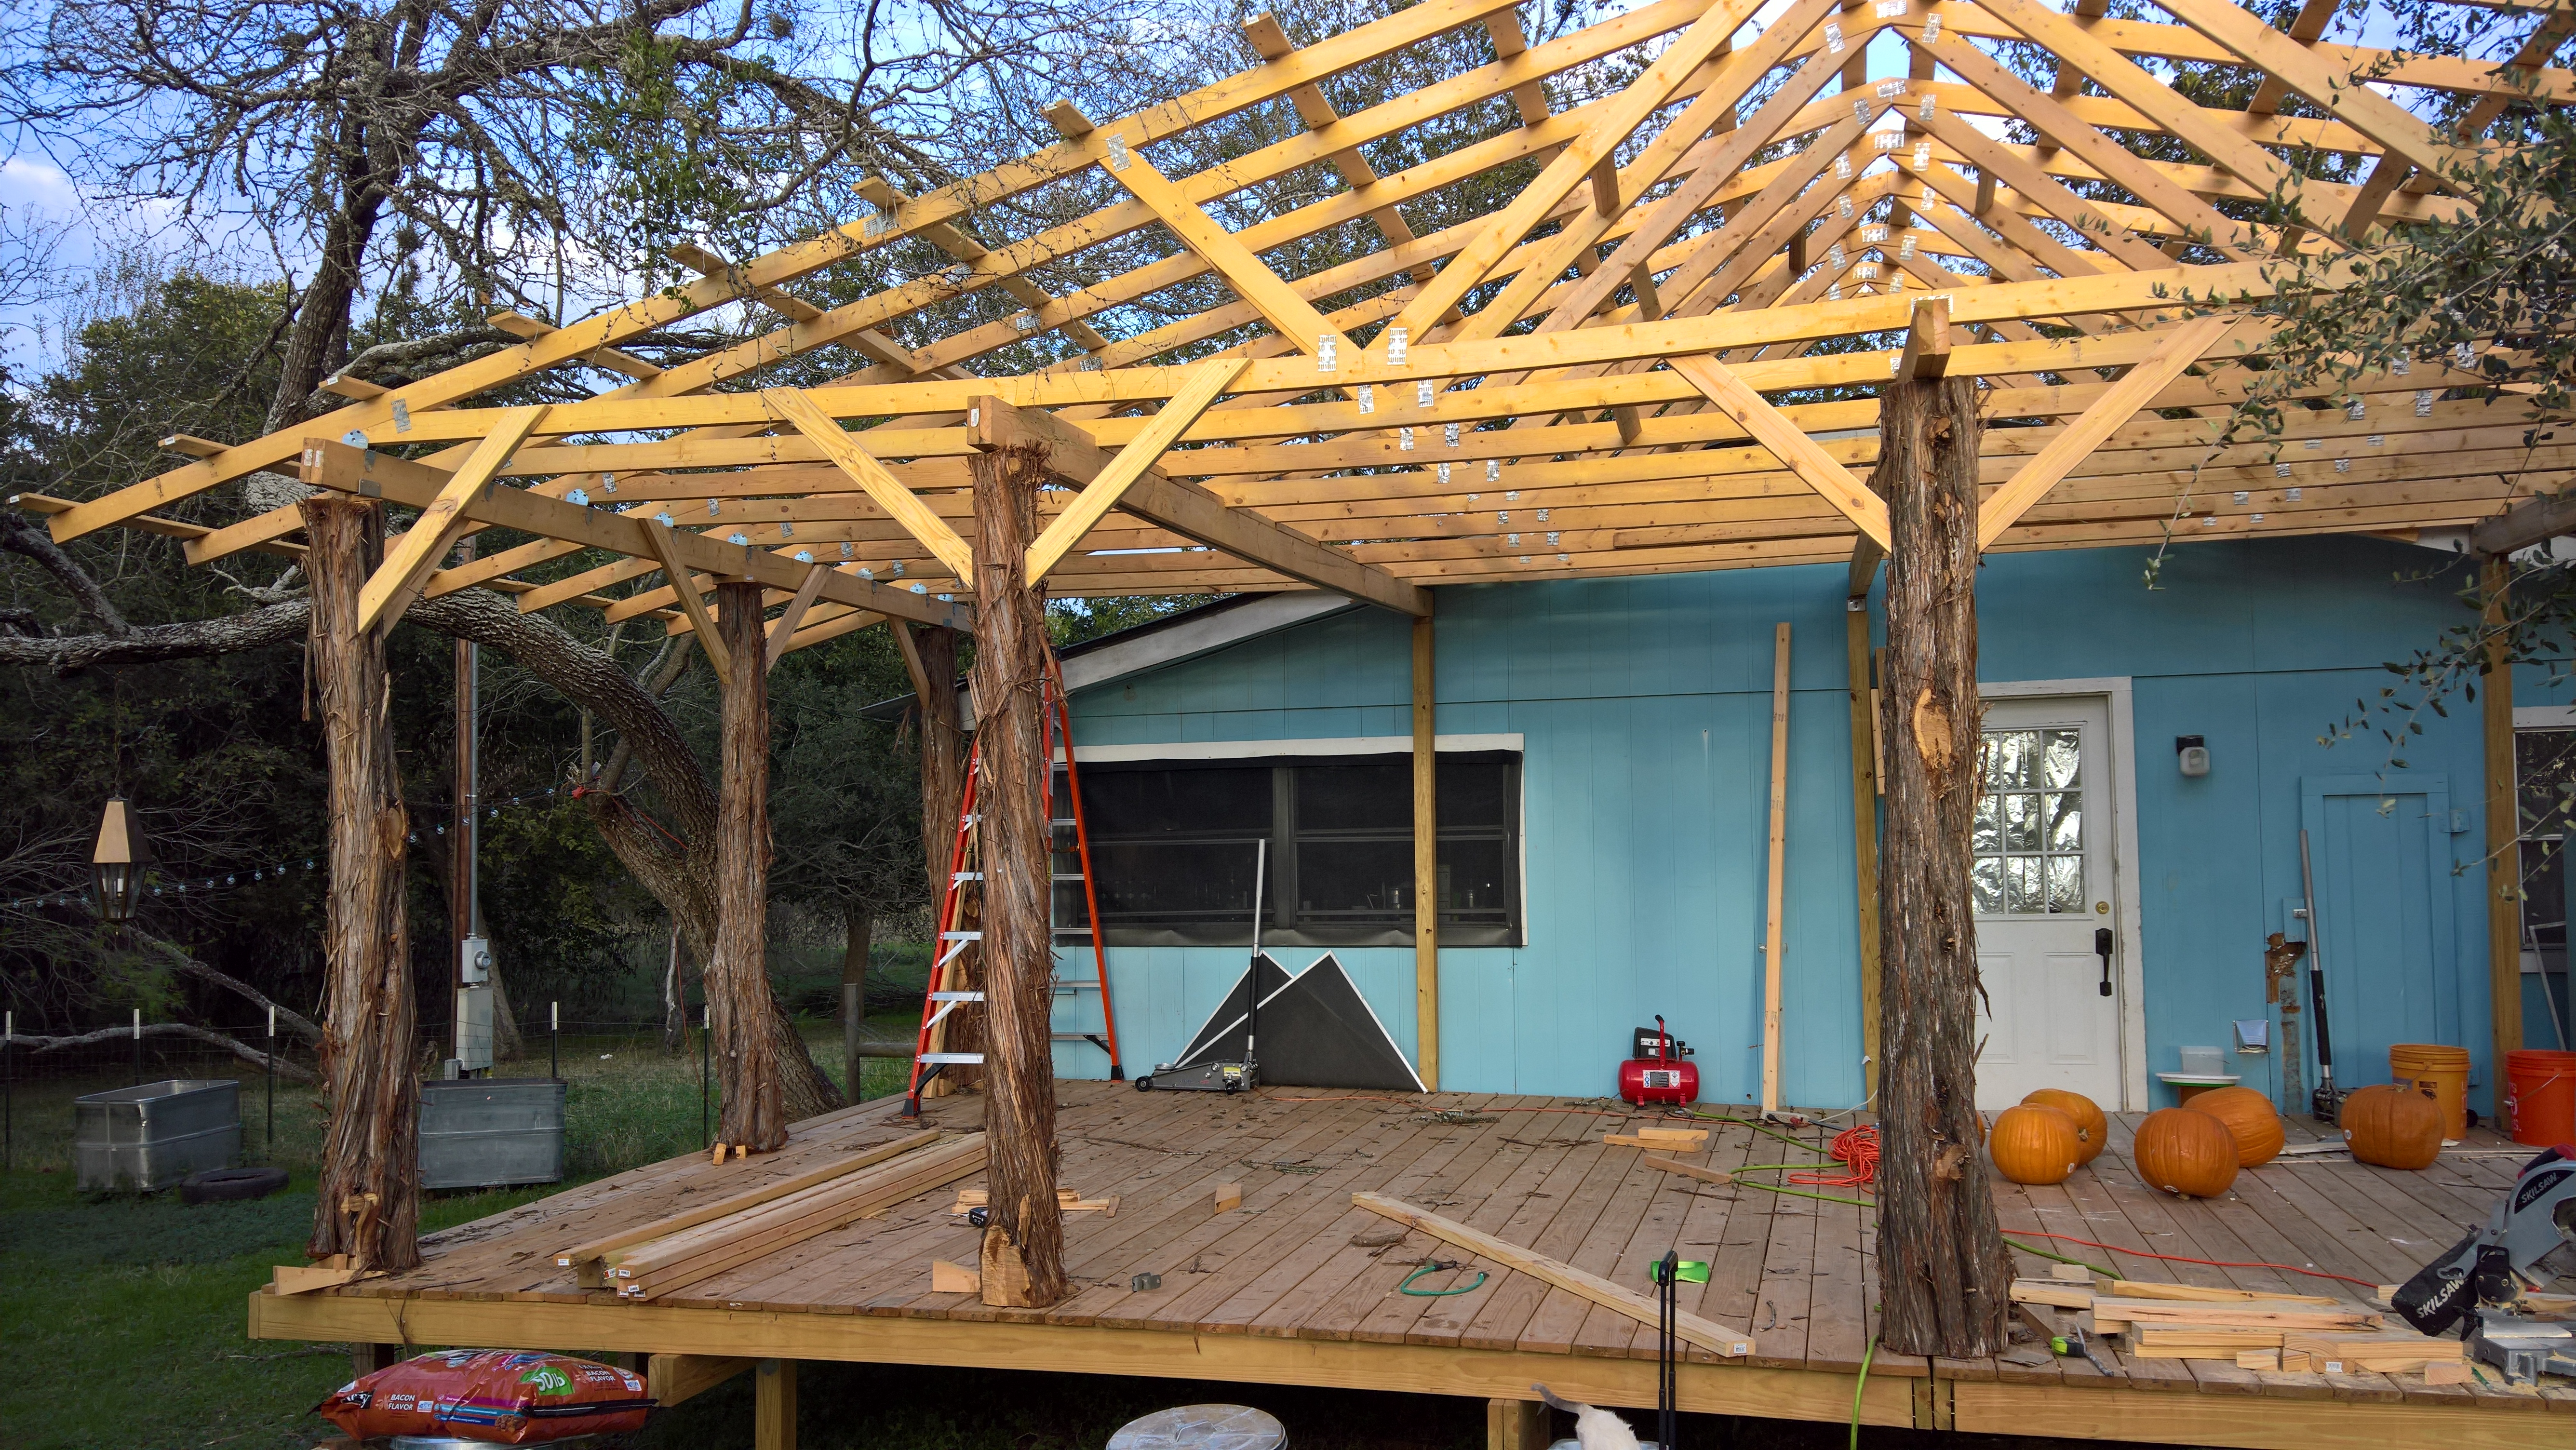
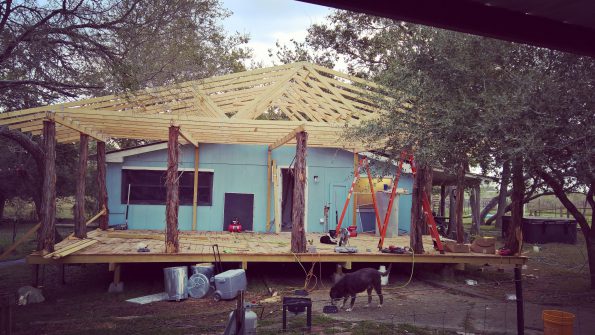
A very special thanks to Bill Hancock, Joe Tramonte, Patrick McMillin, and my Dad for their tremendous help raising the trusses for our outdoor kitchen.

AF86B3B9-E2D7-4071-AED3-D43D588D69B1.jpg

Bill showed his building and engineering prowess many times throughout the day, not the least of which was balancing atop an 8-foot ladder while swinging from the trusses.

6F804FE3-CF96-4E7E-804B-F59CF284B655.jpg

At the end of the day, we got the remaining seven trusses up…and even put up the center cross-beam.

Could not have done it without their help. Thanks again so very much, my friends!