Our Cabinet Pick Trumps Them All

Continuing on with the outdoor kitchen, we’ve started in on some “custom, built-in” (that’s city-speak for “homemade”) cabinets. Melissa and I laid out a basic design in pencil on the decking soon after we finished that part, so we had a rough idea of the overall size and shape.

Framing

The first thing we did was build the bottom form, notching it around the cedar posts…and making sure things were generally square. We decided to use 2×3’s to do the build because they’re cheaper than 2×4’s, and they’re plenty strong enough for the job. The big decision here was how deep we (we being Melissa) wanted the cabinets to be. We knew we wanted them to be at least general cabinet depth, but we had a few specific pieces we wanted to store. One of those pieces is the rolling ice chest you can see in the picture below. Ultimately, we decided on a 26 inch depth from front to back, which equates to a 21 inch “gap” from front to back, which you can see in the picture below.

Once we had the bottom form in place, we had to decide how tall we wanted the counter top to be. Ultimately, we decided on a 36 inch height. The next step was to build corner pieces consisting of two 33 inch 2×3’s. We eyed them up, clamped them down, then screwed them together. To attach them to the base, we did 45 degree screws, one in each end of the corner.

Next came the top, which was pretty easy, since it was essentially the same as the bottom. We attached the top rails screwing straight down into the corner posts and intermediate supports. When we had everything framed in, we squared it up and screwed it down into the deck.

Tiling

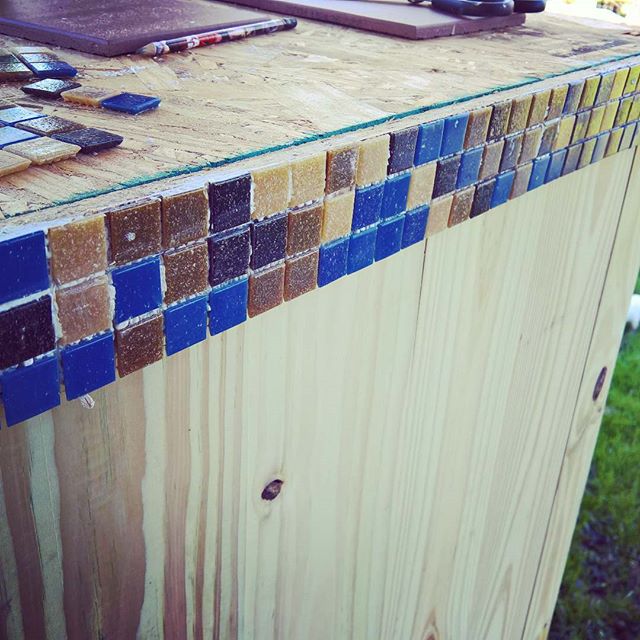
Cutting the particle board for the top was fairly easy – just a few notches for the cut outs where the cedar posts are. And once we had the top screwed into place, we added a small strip of fascia, some mastic, and laid down the front accent tiles.

One of the more time-consuming parts was laying out the tile for the counter top. Some might say I’m slightly OCD when it comes symmetry and balance. So one of our strategies to aid (confuse?) my critical eye with respect to grout lines – which cannot possibly be straight because we’re using handmade tiles – was to stagger the rows of tiles. That way, any imperfection gets masked enough by the offset tile for my eyes to calm down.

We started in the corner to make sure we had a row of full tiles in each direction…

…and that gave us an interesting opportunity in the second row. To deal with the overlapping offset tiles, we simply cut out the overlapping pieces. Then, we were left with a roughly 4×4 inch void in that second row. We decided to use a blue Talavera accent tile left over from the remodel of the kitchen in our last home. A quick trim on the tile saw and it fit right into place. Almost looks like we planned it that way from the beginning, doesn’t it?

We did make one (giant) mistake. You see that hole in the counter top to the left of the dishwasher where the sink is going? Neither do I…. So, we ordered a vessel sink that will sit on top of the counter and only need a small cutout for the drain, plus a couple small cutouts for the faucet. In the end, it worked out fine. Turns out we both like the idea of the vessel sink better anyway.

Toe kick, doors and shelves are on my to-do list. Melissa and the kids are working on “custom, built-in” mosaics for the back. More to come….
Raising the Metal Roof

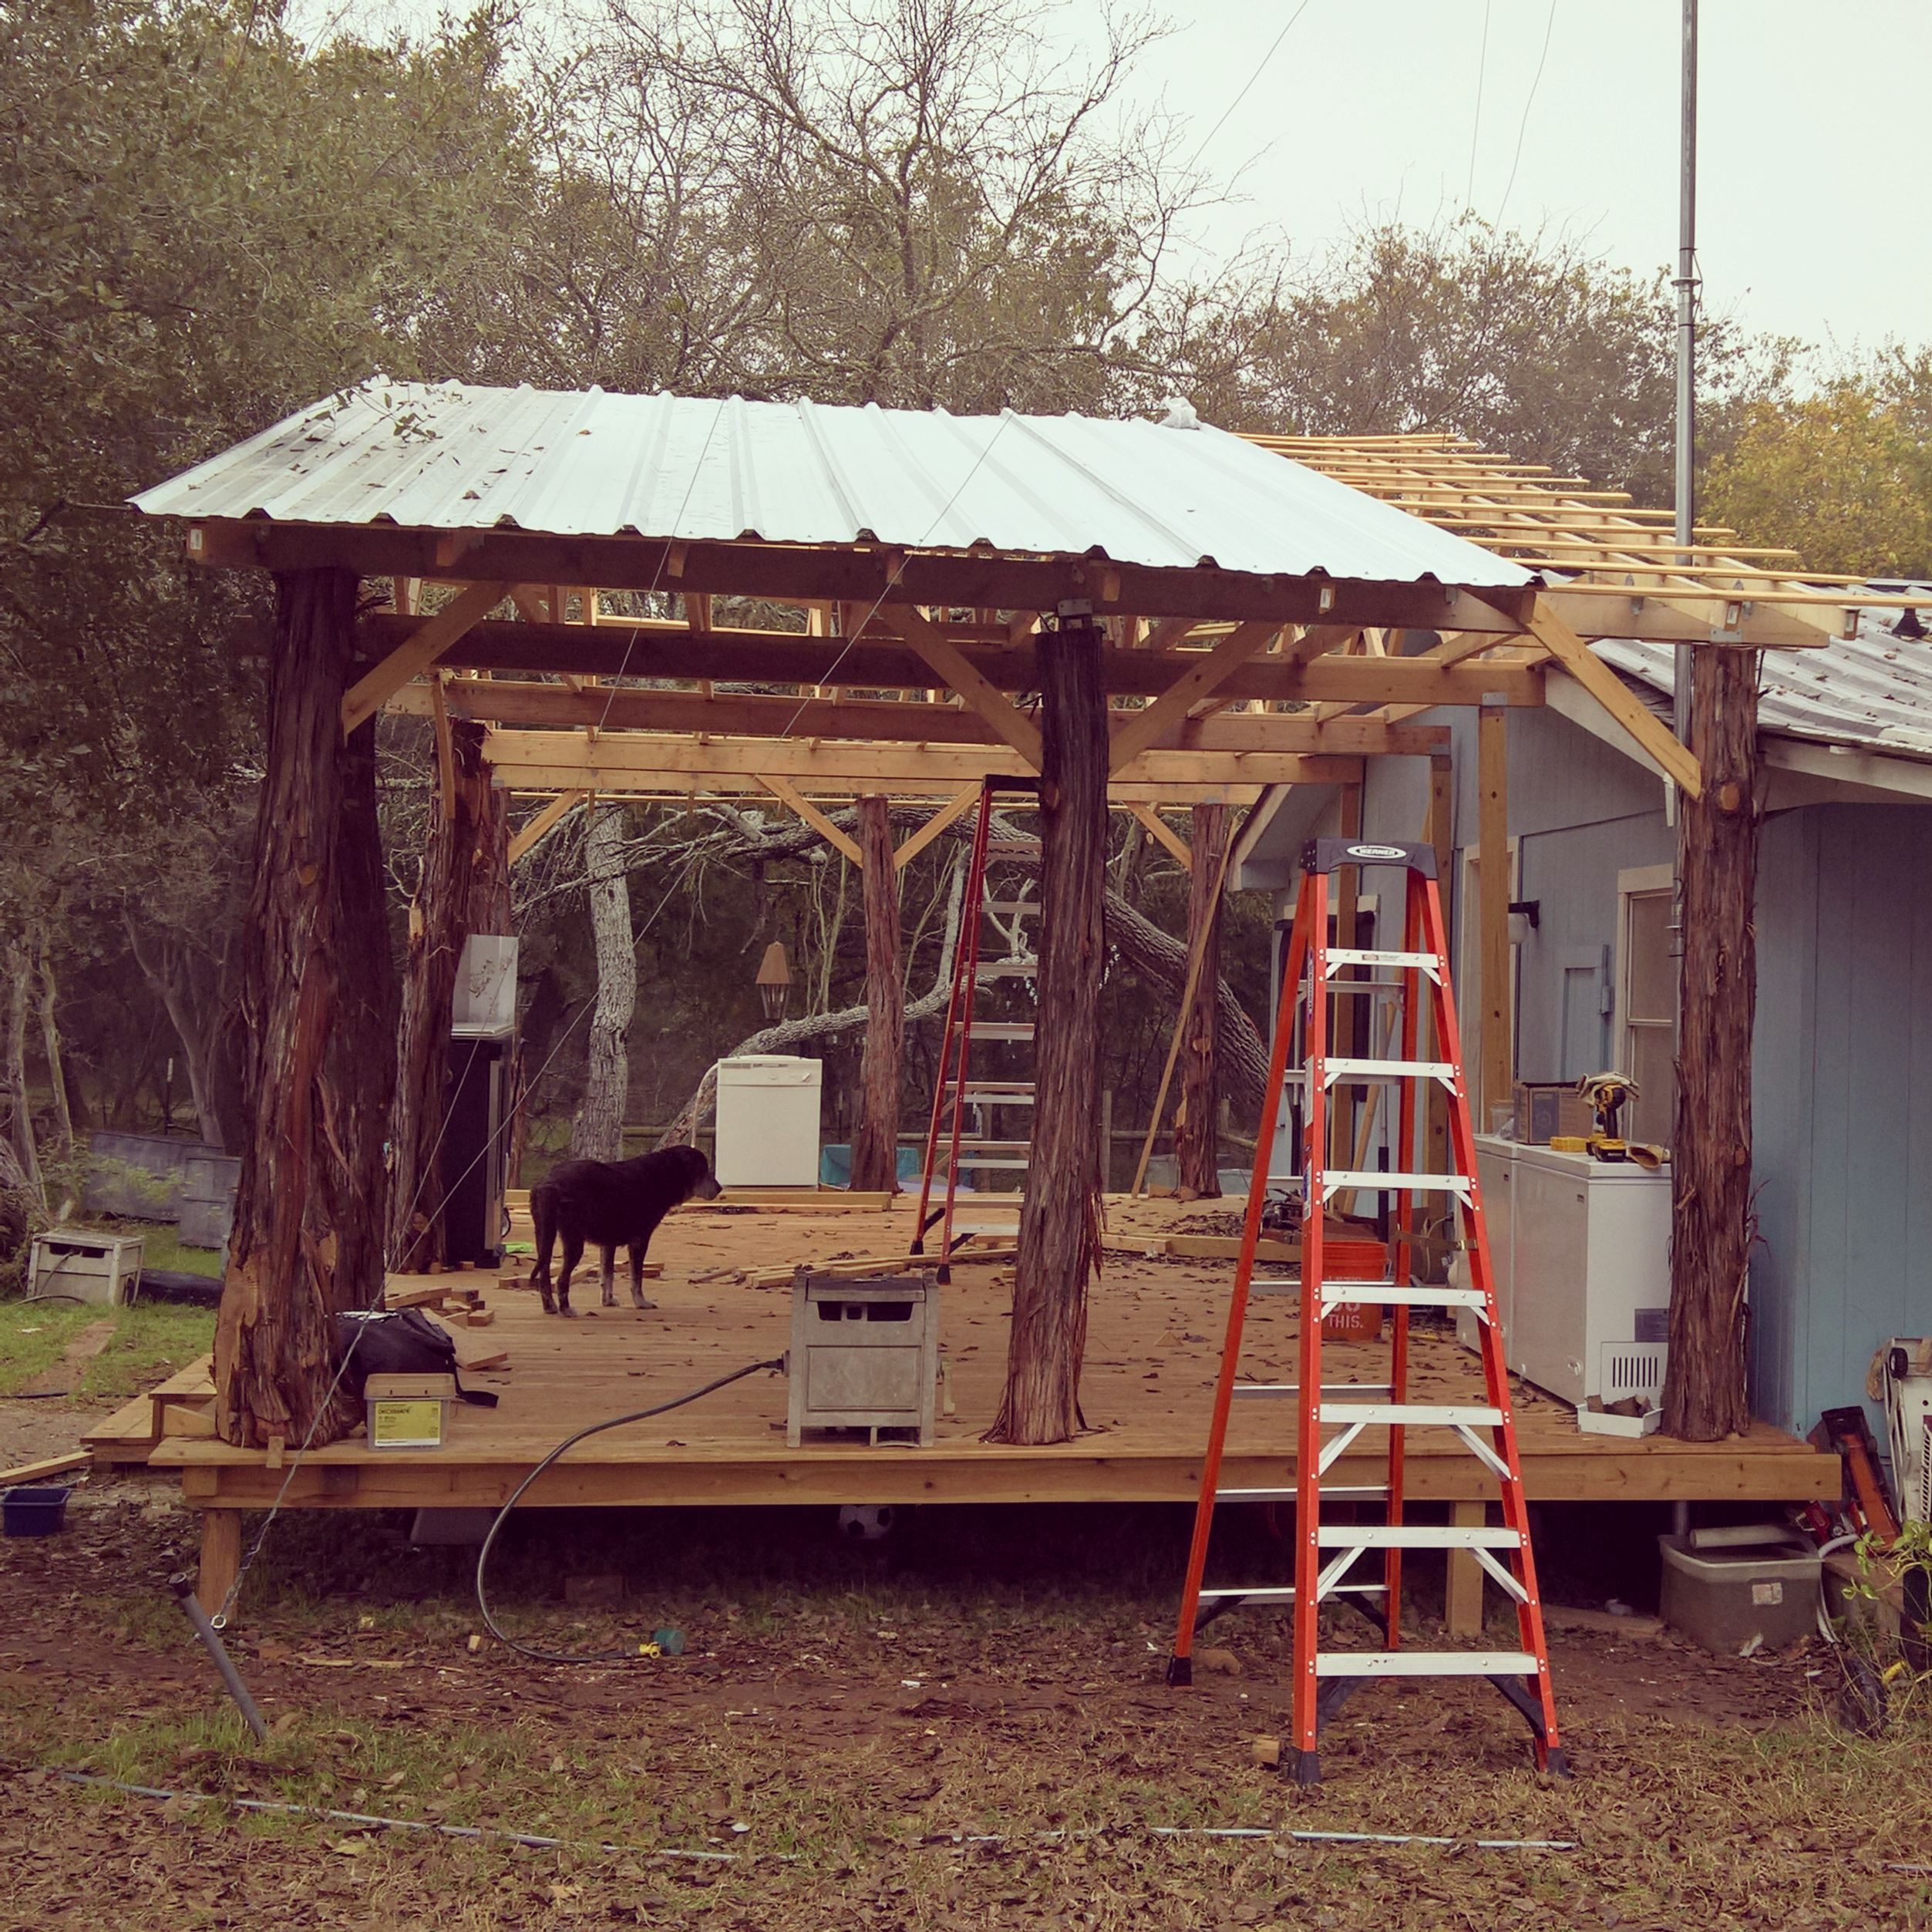
After a few back-and-forth’s with the delivery guy, and after a few weekends of rain…drum roll please…we have a metal roof! To my surprise, it was easier than I thought it would be. Of course, that could be due in part to the fact that Melissa did a lot of the work. Melissa and I got nearly all the panels in place in a single day.

We ordered panels from a guy we found on Craigslist. His prices were fantastic – just about half what we would have spent at McCoy’s, Lowes or Home Depot – plus, he included the screws. As I mentioned, there were some delivery delays, but everything worked out.

The roofing guy fabricated the panels so that there would be a single panel on each side of the peak. Each of the 12 panels is 20′ long and roughly 3′ wide. And man, let me tell you, them suckers is heavy! To get them on the roof, we first lined them up on the ground. Then, lifting them over her head, Melissa climbed the ladder to get the edge of the panel up on the trusses. Then I walked the panels up the roof – one of the few times my 300-plus pounds was actually a benefit. Melissa then climbed into the rafters and secured the peak edge while I held things in place. Once she secured the peak edge, I secured the drip edge, and we were off to get the next panel. After they were all up, Melissa went back and screwed down the panels into the furring strips every foot or so.

Bill Hancock – who has been a tremendous help throughout the project – appeared once again to help with the cuts around the pole (for rural internet) as well as the ridge cap. You can see Bill and Melissa below prepping the peak edge for the ridge cap.

Repurposing a Laundry Bin

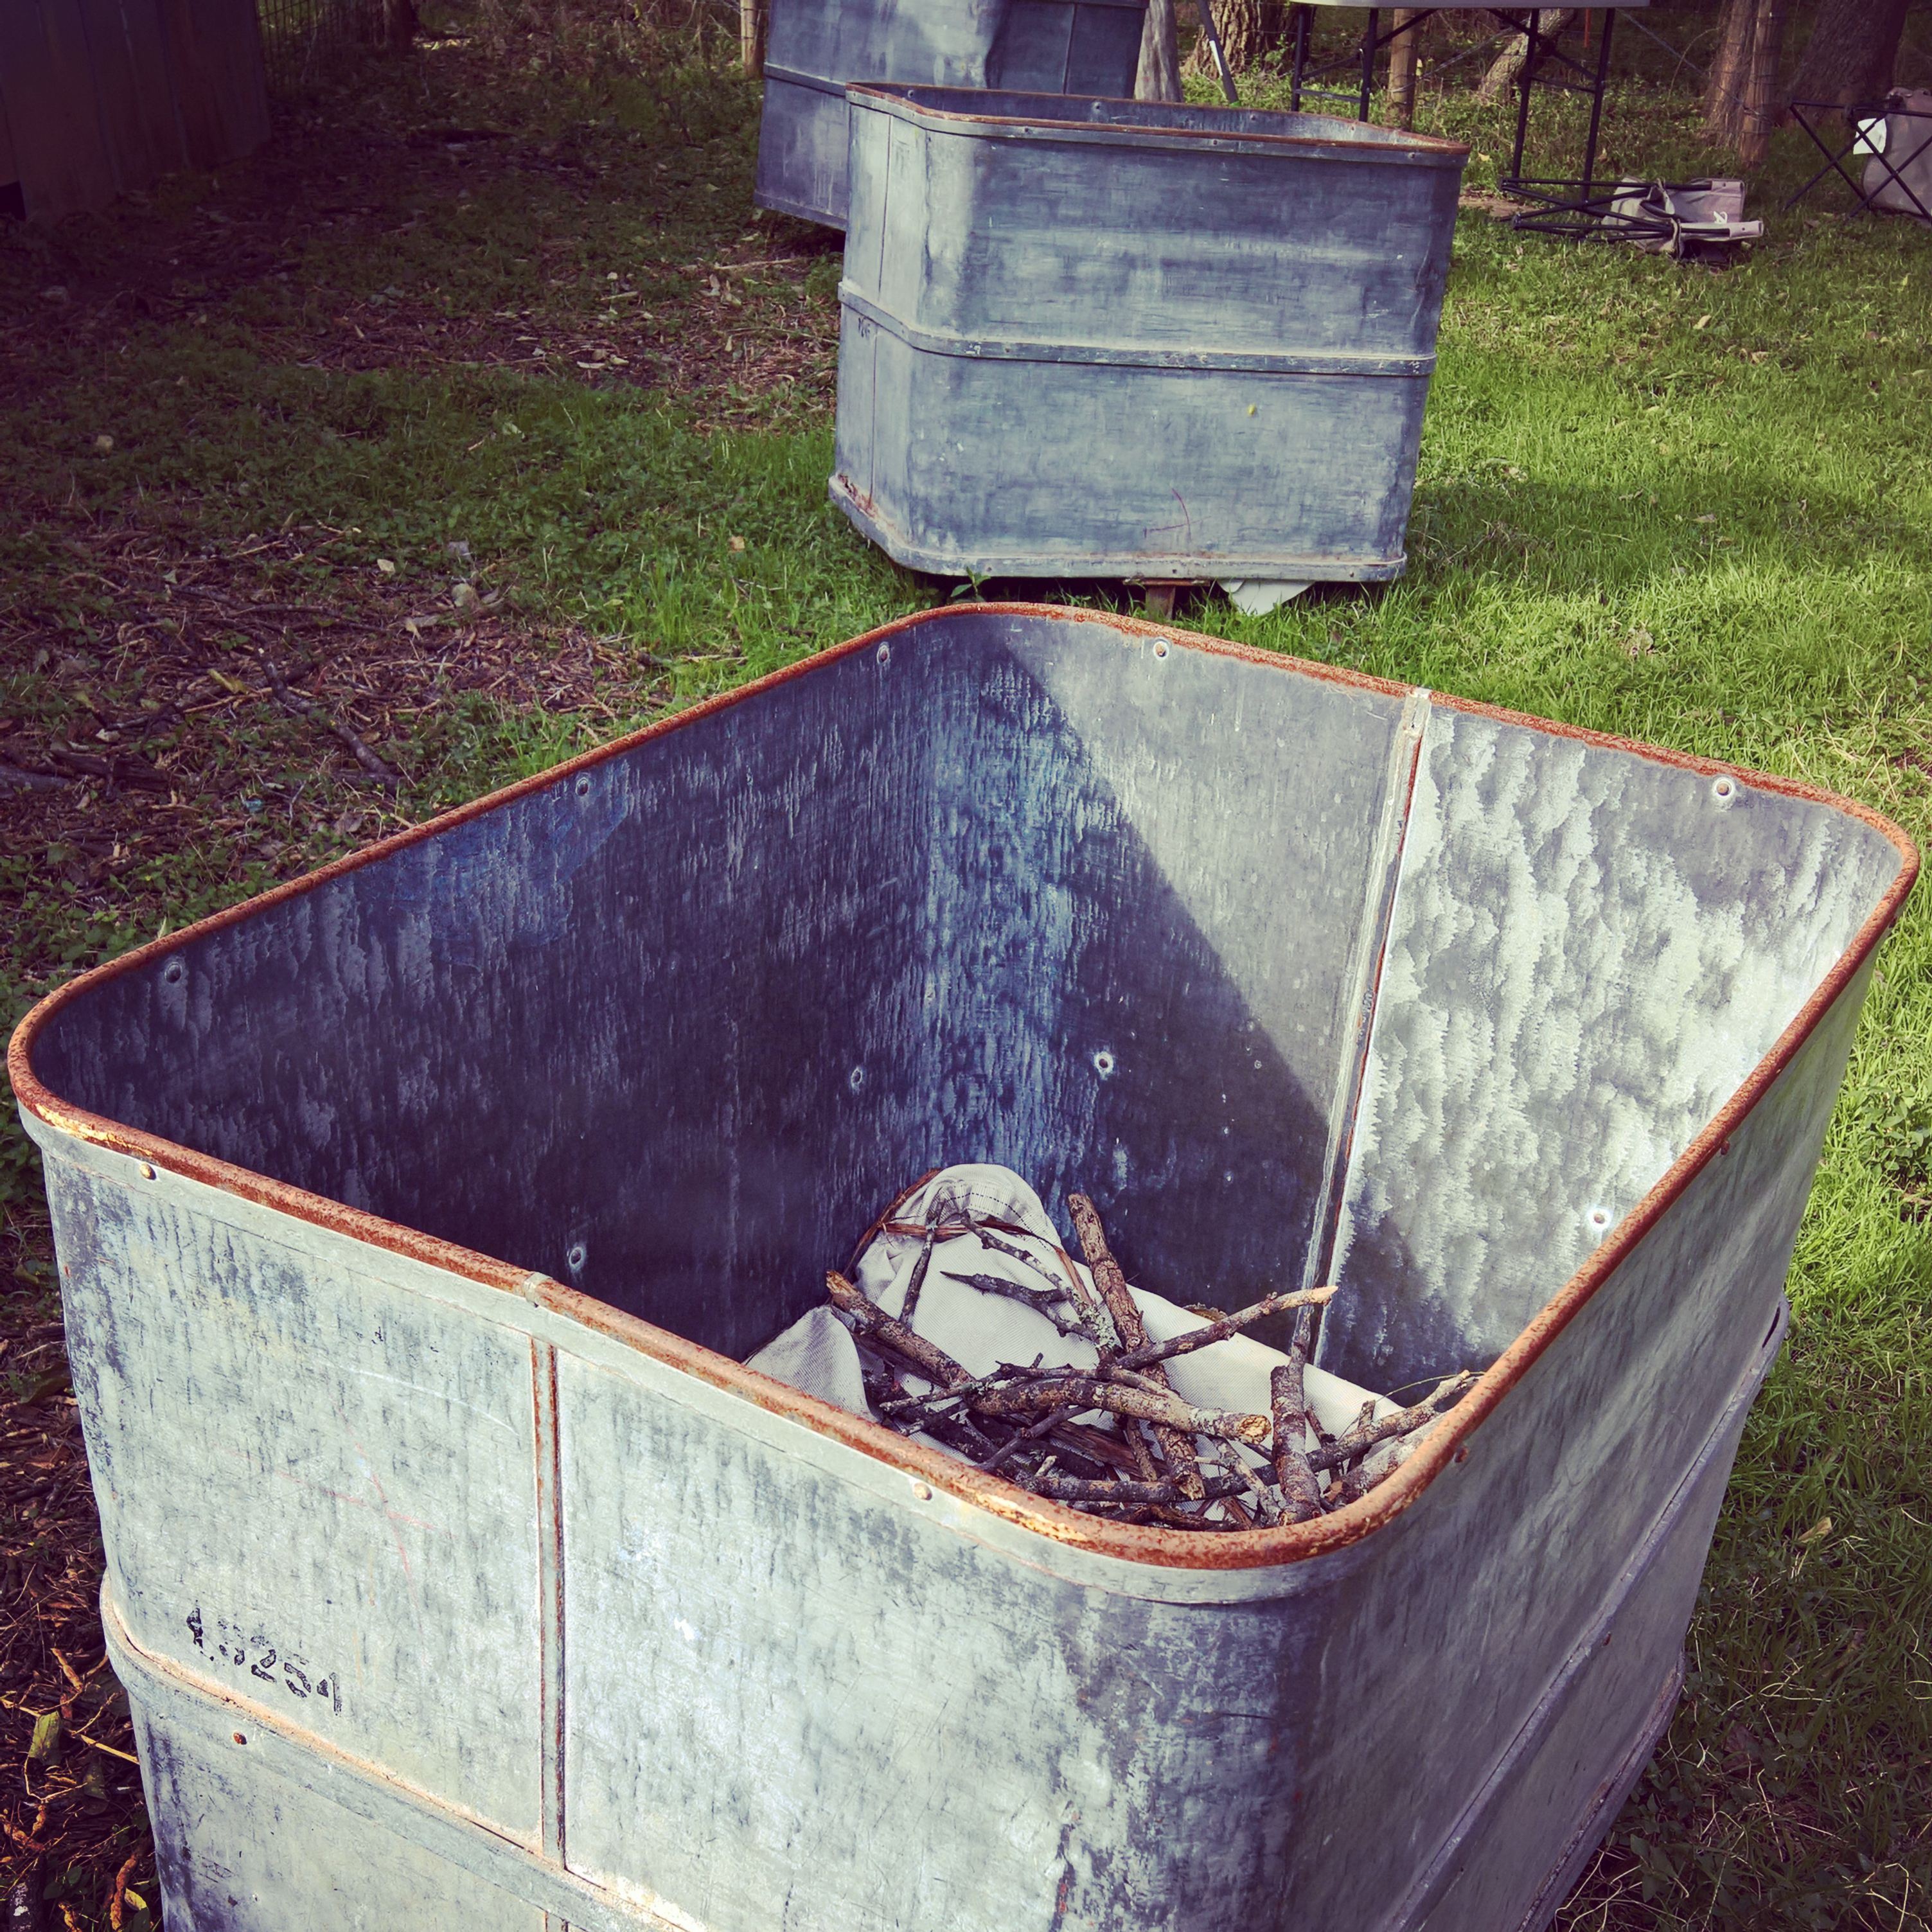
We found these old laundry bins through SlapSale.com, an online auction house that deals in distressed merchandise liquidations. SlapSale handles a lot of hospitals and universities in Texas, and in some other areas as well.

These laundry bins came from a hospital in or around San Marcos, and we’re using them as a raised-bed solution for our side yard project. The bottoms are wooden pallets, so drainage won’t be an issue. Several came with laundry bags, which will make a good permeable barrier. Now to find some rocks and twigs for the bottom, and some fill dirt… I foresee more loader and grapple fun in the near future.

That Thar’s a Swale Pond

cd57475a-a0f7-44de-9d63-b4050cc8e907

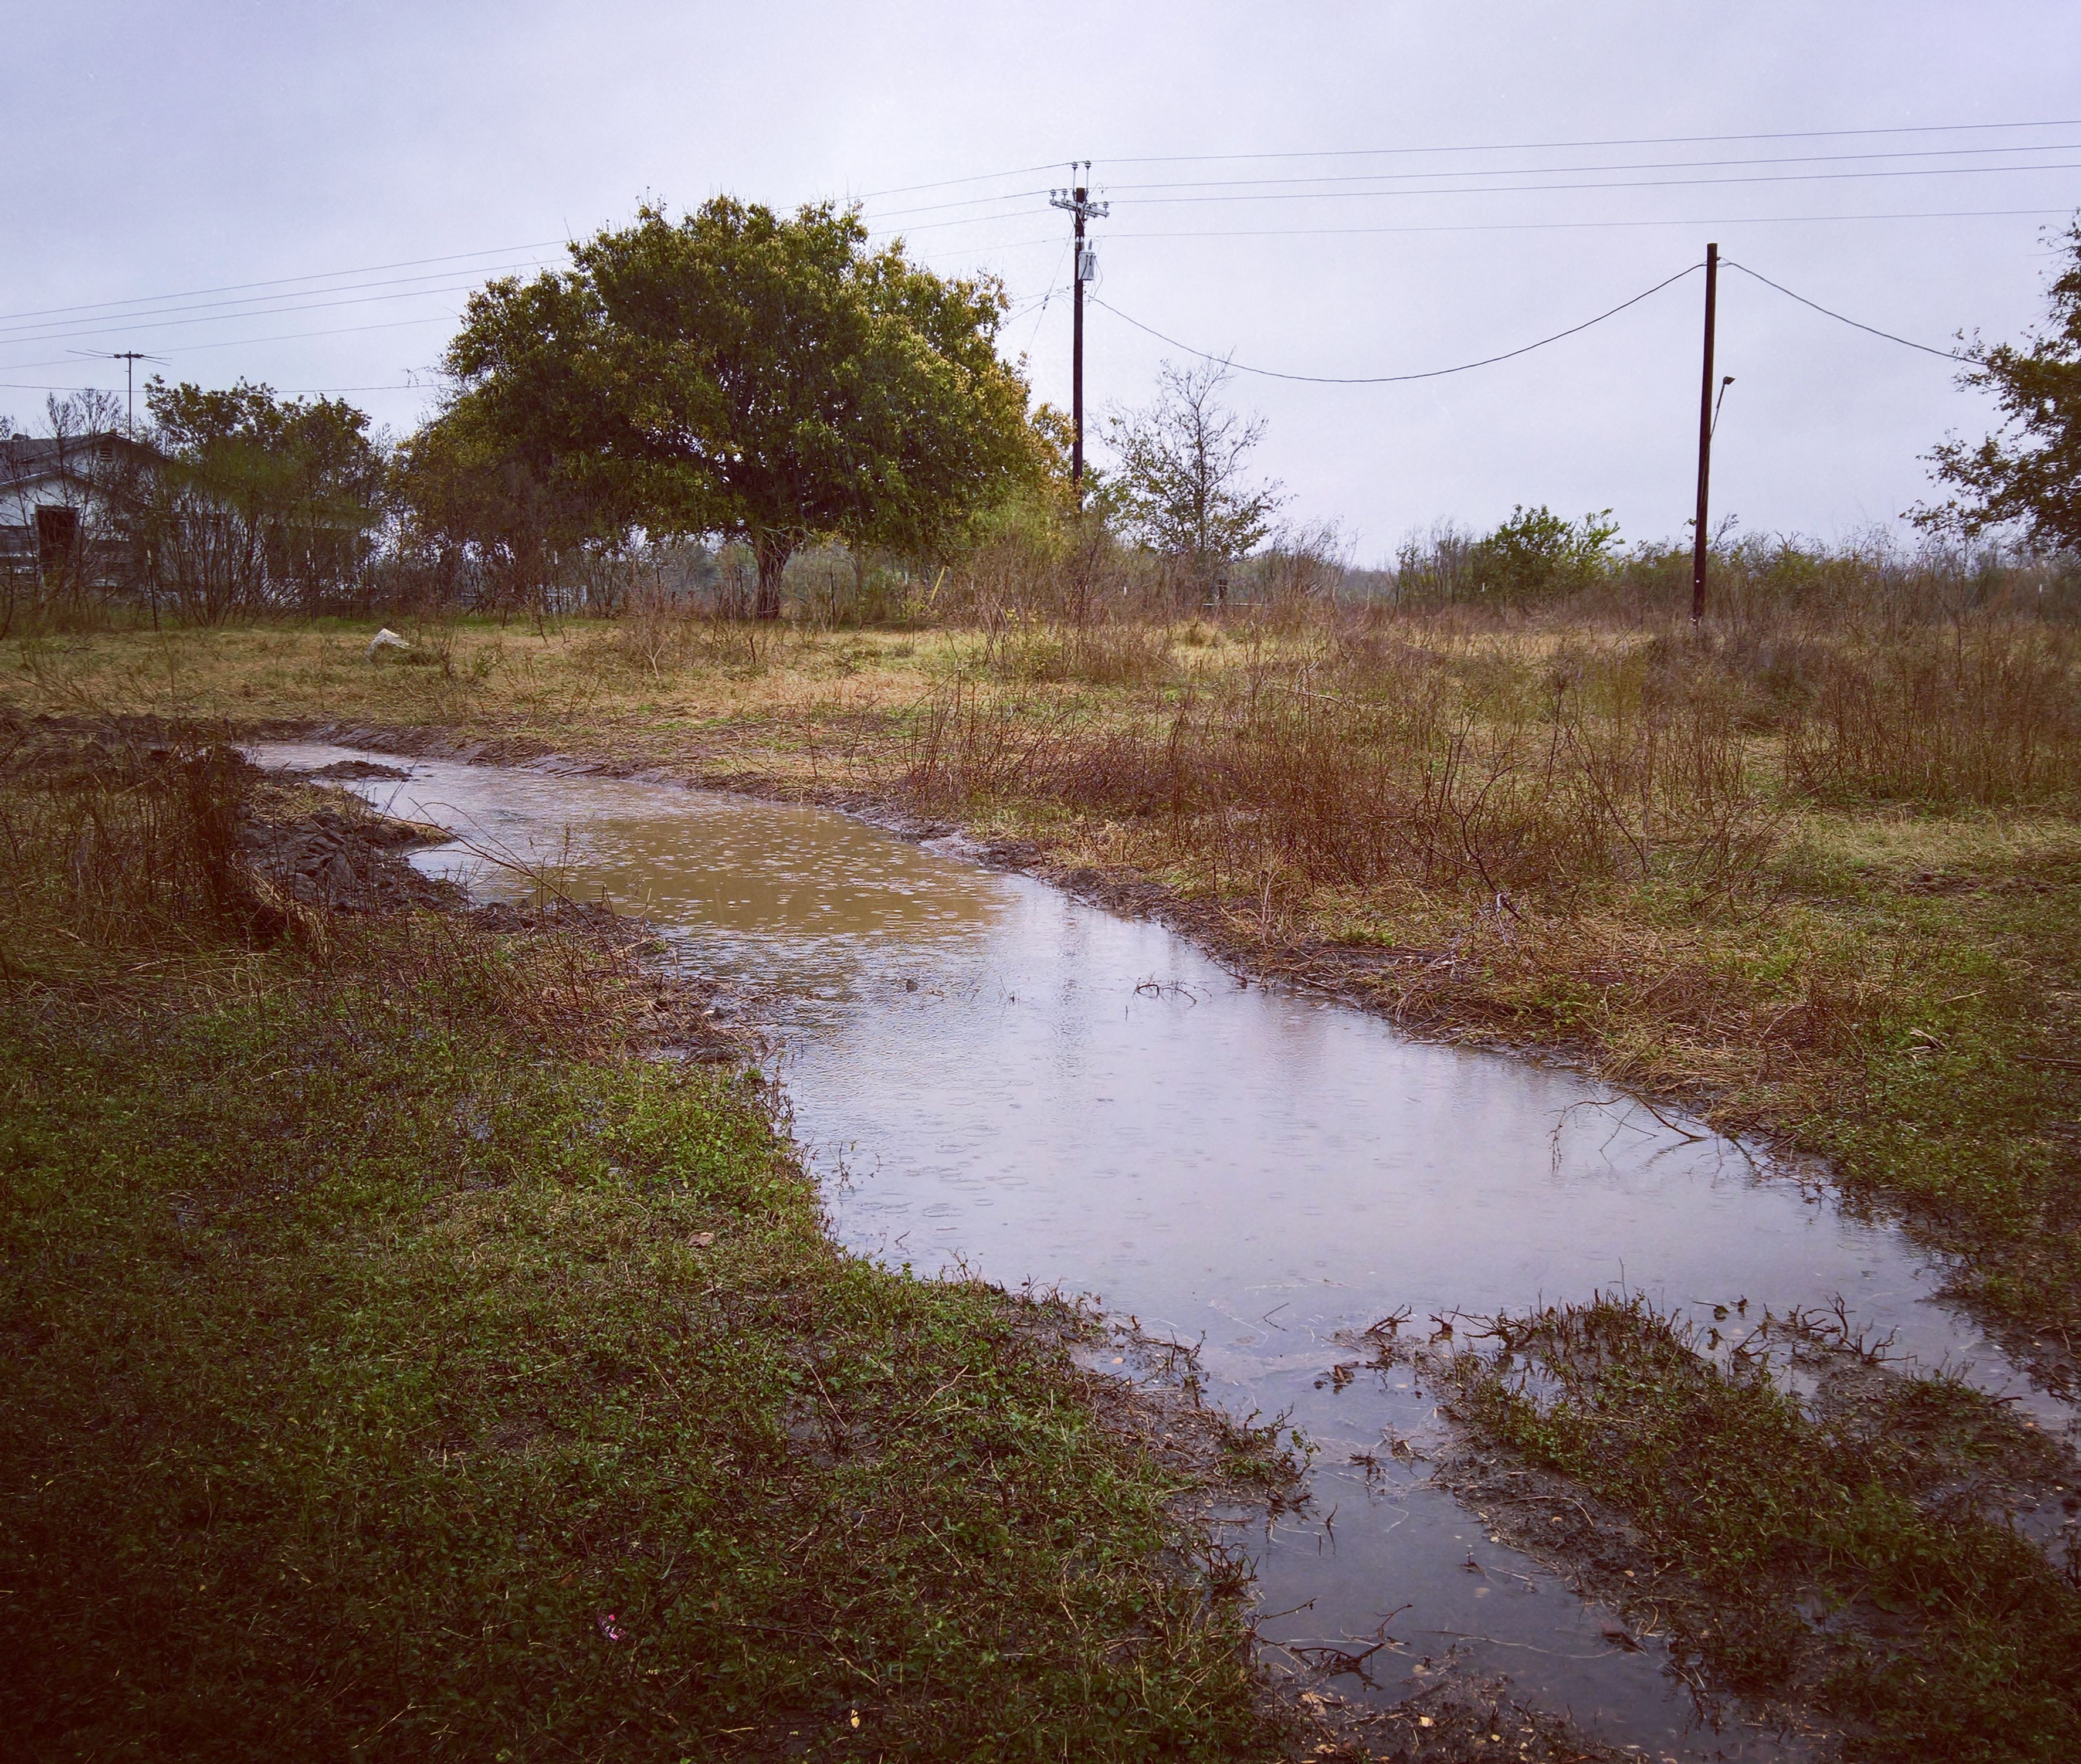
We’ve been having fun with the tractor. Here’s one example of that – beginning in on the pond. Right now, it’s only a few inches deep, as we’re digging the outline. When we had a deluge the other day, those “few inches” filled up rather quickly and became an effective swale, catching the water rather than letting it run off the property. Didn’t really think about that until it happened…and now I’m itching to trench in some more swales “upstream” on the property.

Repurposing an Old Boot

86647894-b205-4635-9f1b-50a690fccdb7

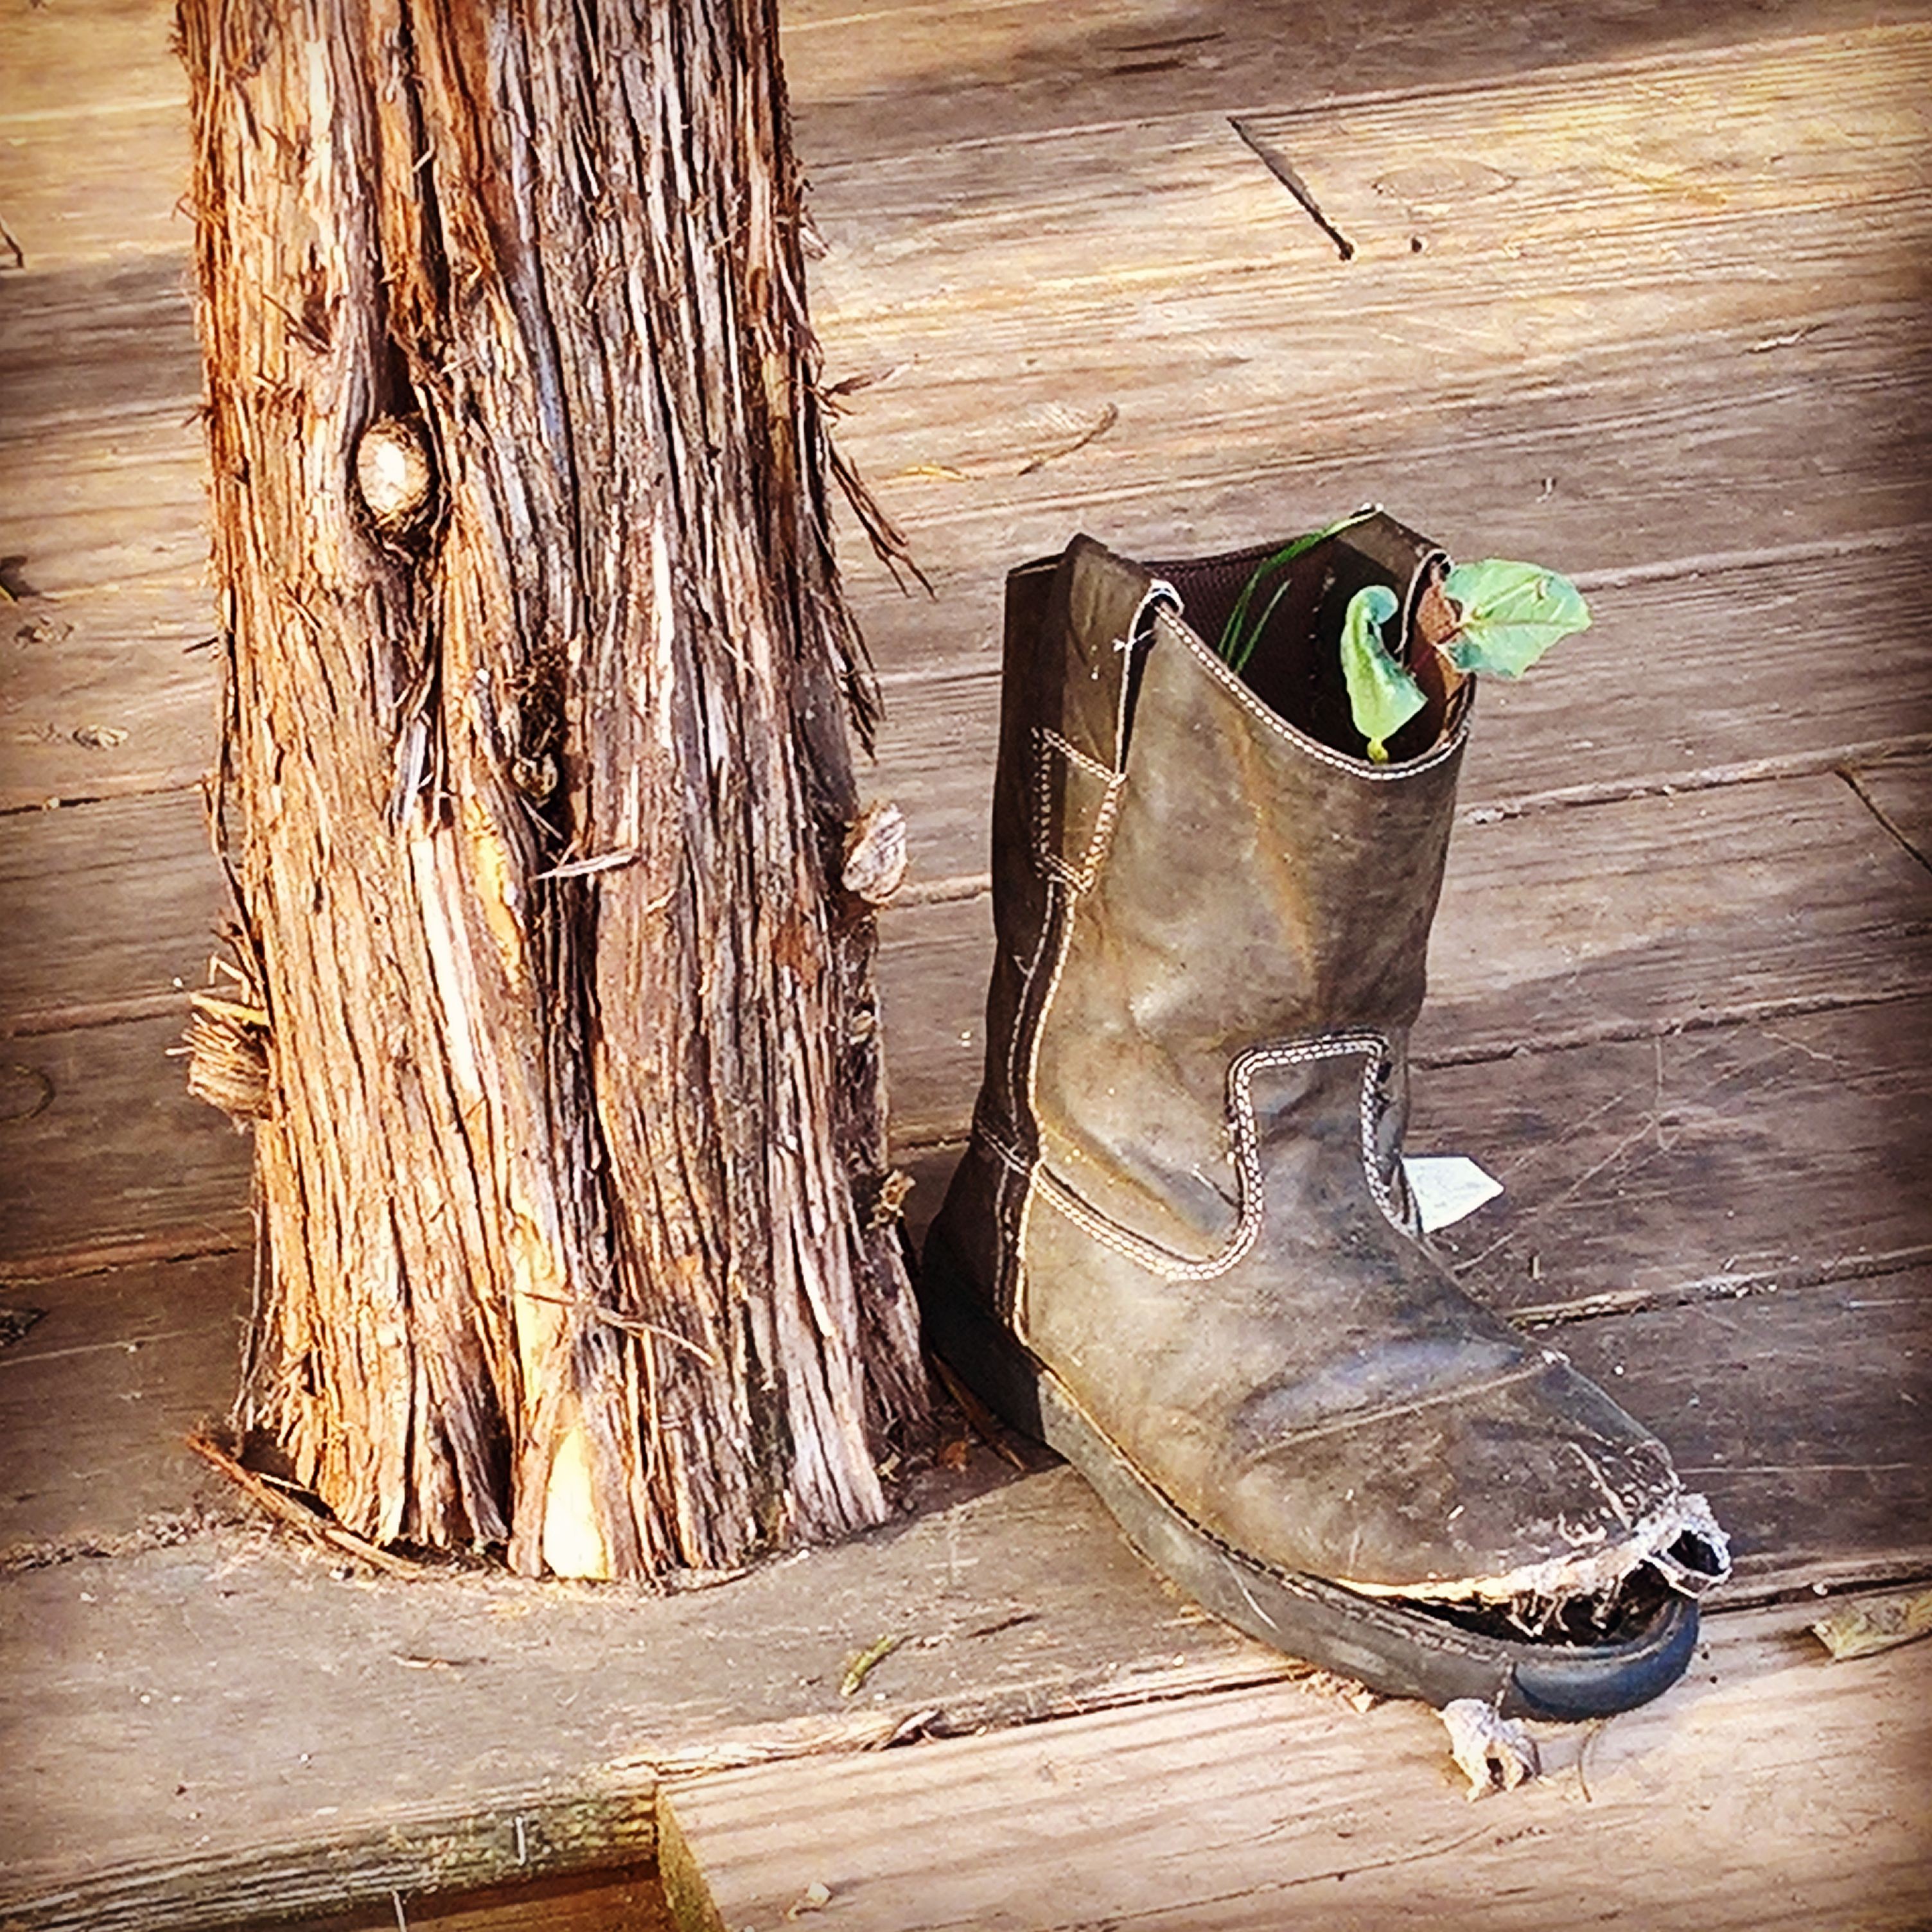
Iain “outgrew” (literally) his boots. They were too far gone for Goodwill, so we pondered a bit on how we might use them around the property. Then, we had an idea…nail them to the porch, fill them with soil, and use them as planters. I think Iain planted garlic in this one – and there’s something else in there, too. Whatever is in there, one thing’s for sure – they smell better now.

We Got Stairs!

2937cc45-41e8-4408-b370-d8bd95238bf0

Another day project on the outdoor kitchen. Finally got tired enough of hearing my bones creek every time I lurched up onto (or down from) the deck. First time I’ve ever built stairs, and I’m sure if you peered in from the other side, you’d be aghast at what you saw. But, hey, they hold my 300+ pounds without any shimmying or shaking, and that’s good enough for me.

Tractor Port

E5B06856-1302-41D9-8039-F1E7A6F75FF7.jpg

In the summer of 1987, we moved from Minnesota to Louisiana. There, I saw these things called “carports.” Never seen or heard of anything like that in Minnesota. Too much snow, I guess.

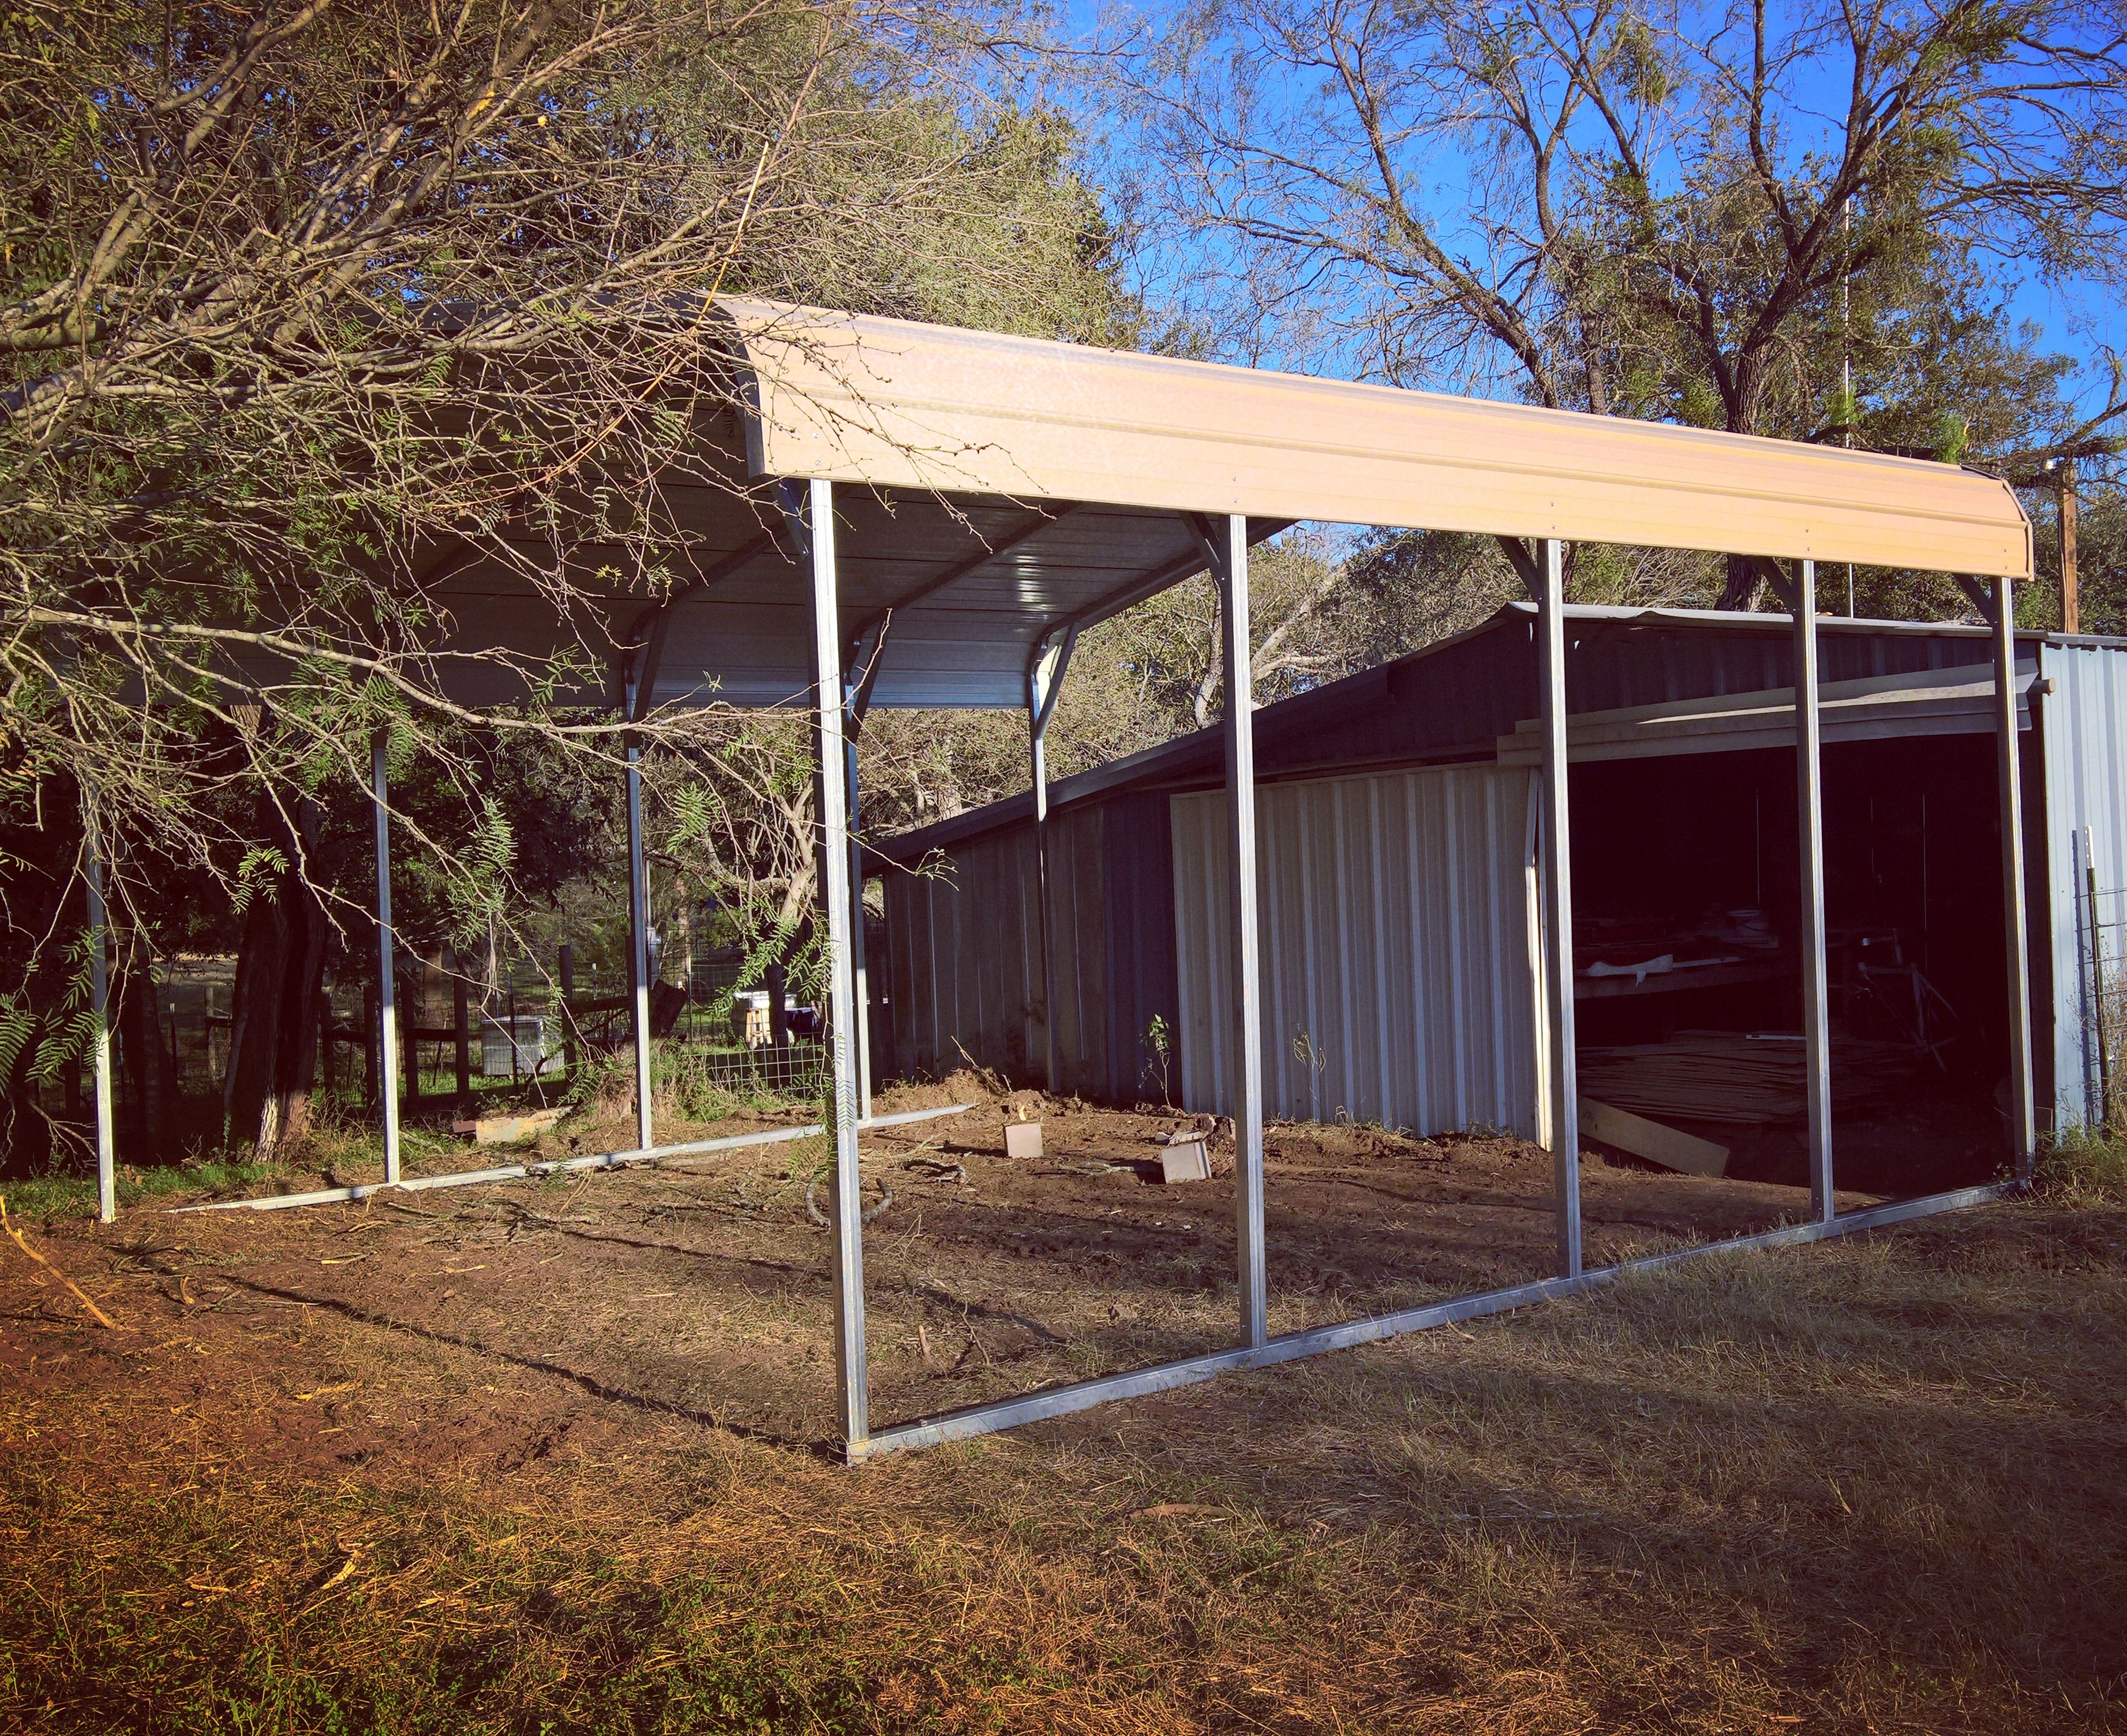
Fast forward to 2016, and we needed a place to park the tractor to offer some protection from the elements. We found a decent deal at Metal Carport Depot. Ordering from them was an easy process, and they had it here in a week or two. Took them about an hour to set it up, and they did a great job.

So while we don’t have a “car” port yet, we do have a “port” for the important stuff…the “tractor port.”

Duck House

58c2f530-e635-4cdb-a794-3baeec302319

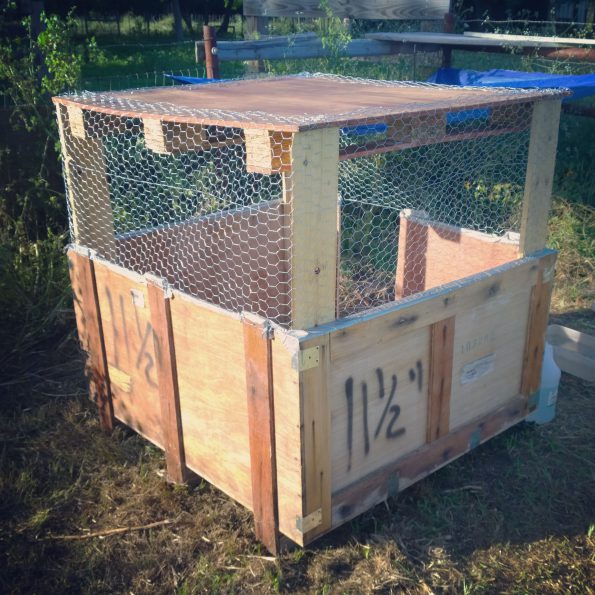
Shortly after we moved onto the property, Chris and Elizabeth Coats brought us five of their Muscovy ducks to start our duck flock. Since the property was vacant for so long, there were wild predators around, and we needed a protected place for the ducks. We found a place just down the road in Seguin that has free pallets available all the time, and we scraped together some pieces to build a makeshift “duck house”…complete with “Duck” (brand duct) tape.

Posts, Rafters & Furring Strips…Oh My

e8da518b-52ee-4652-91f7-d21763a25ea9

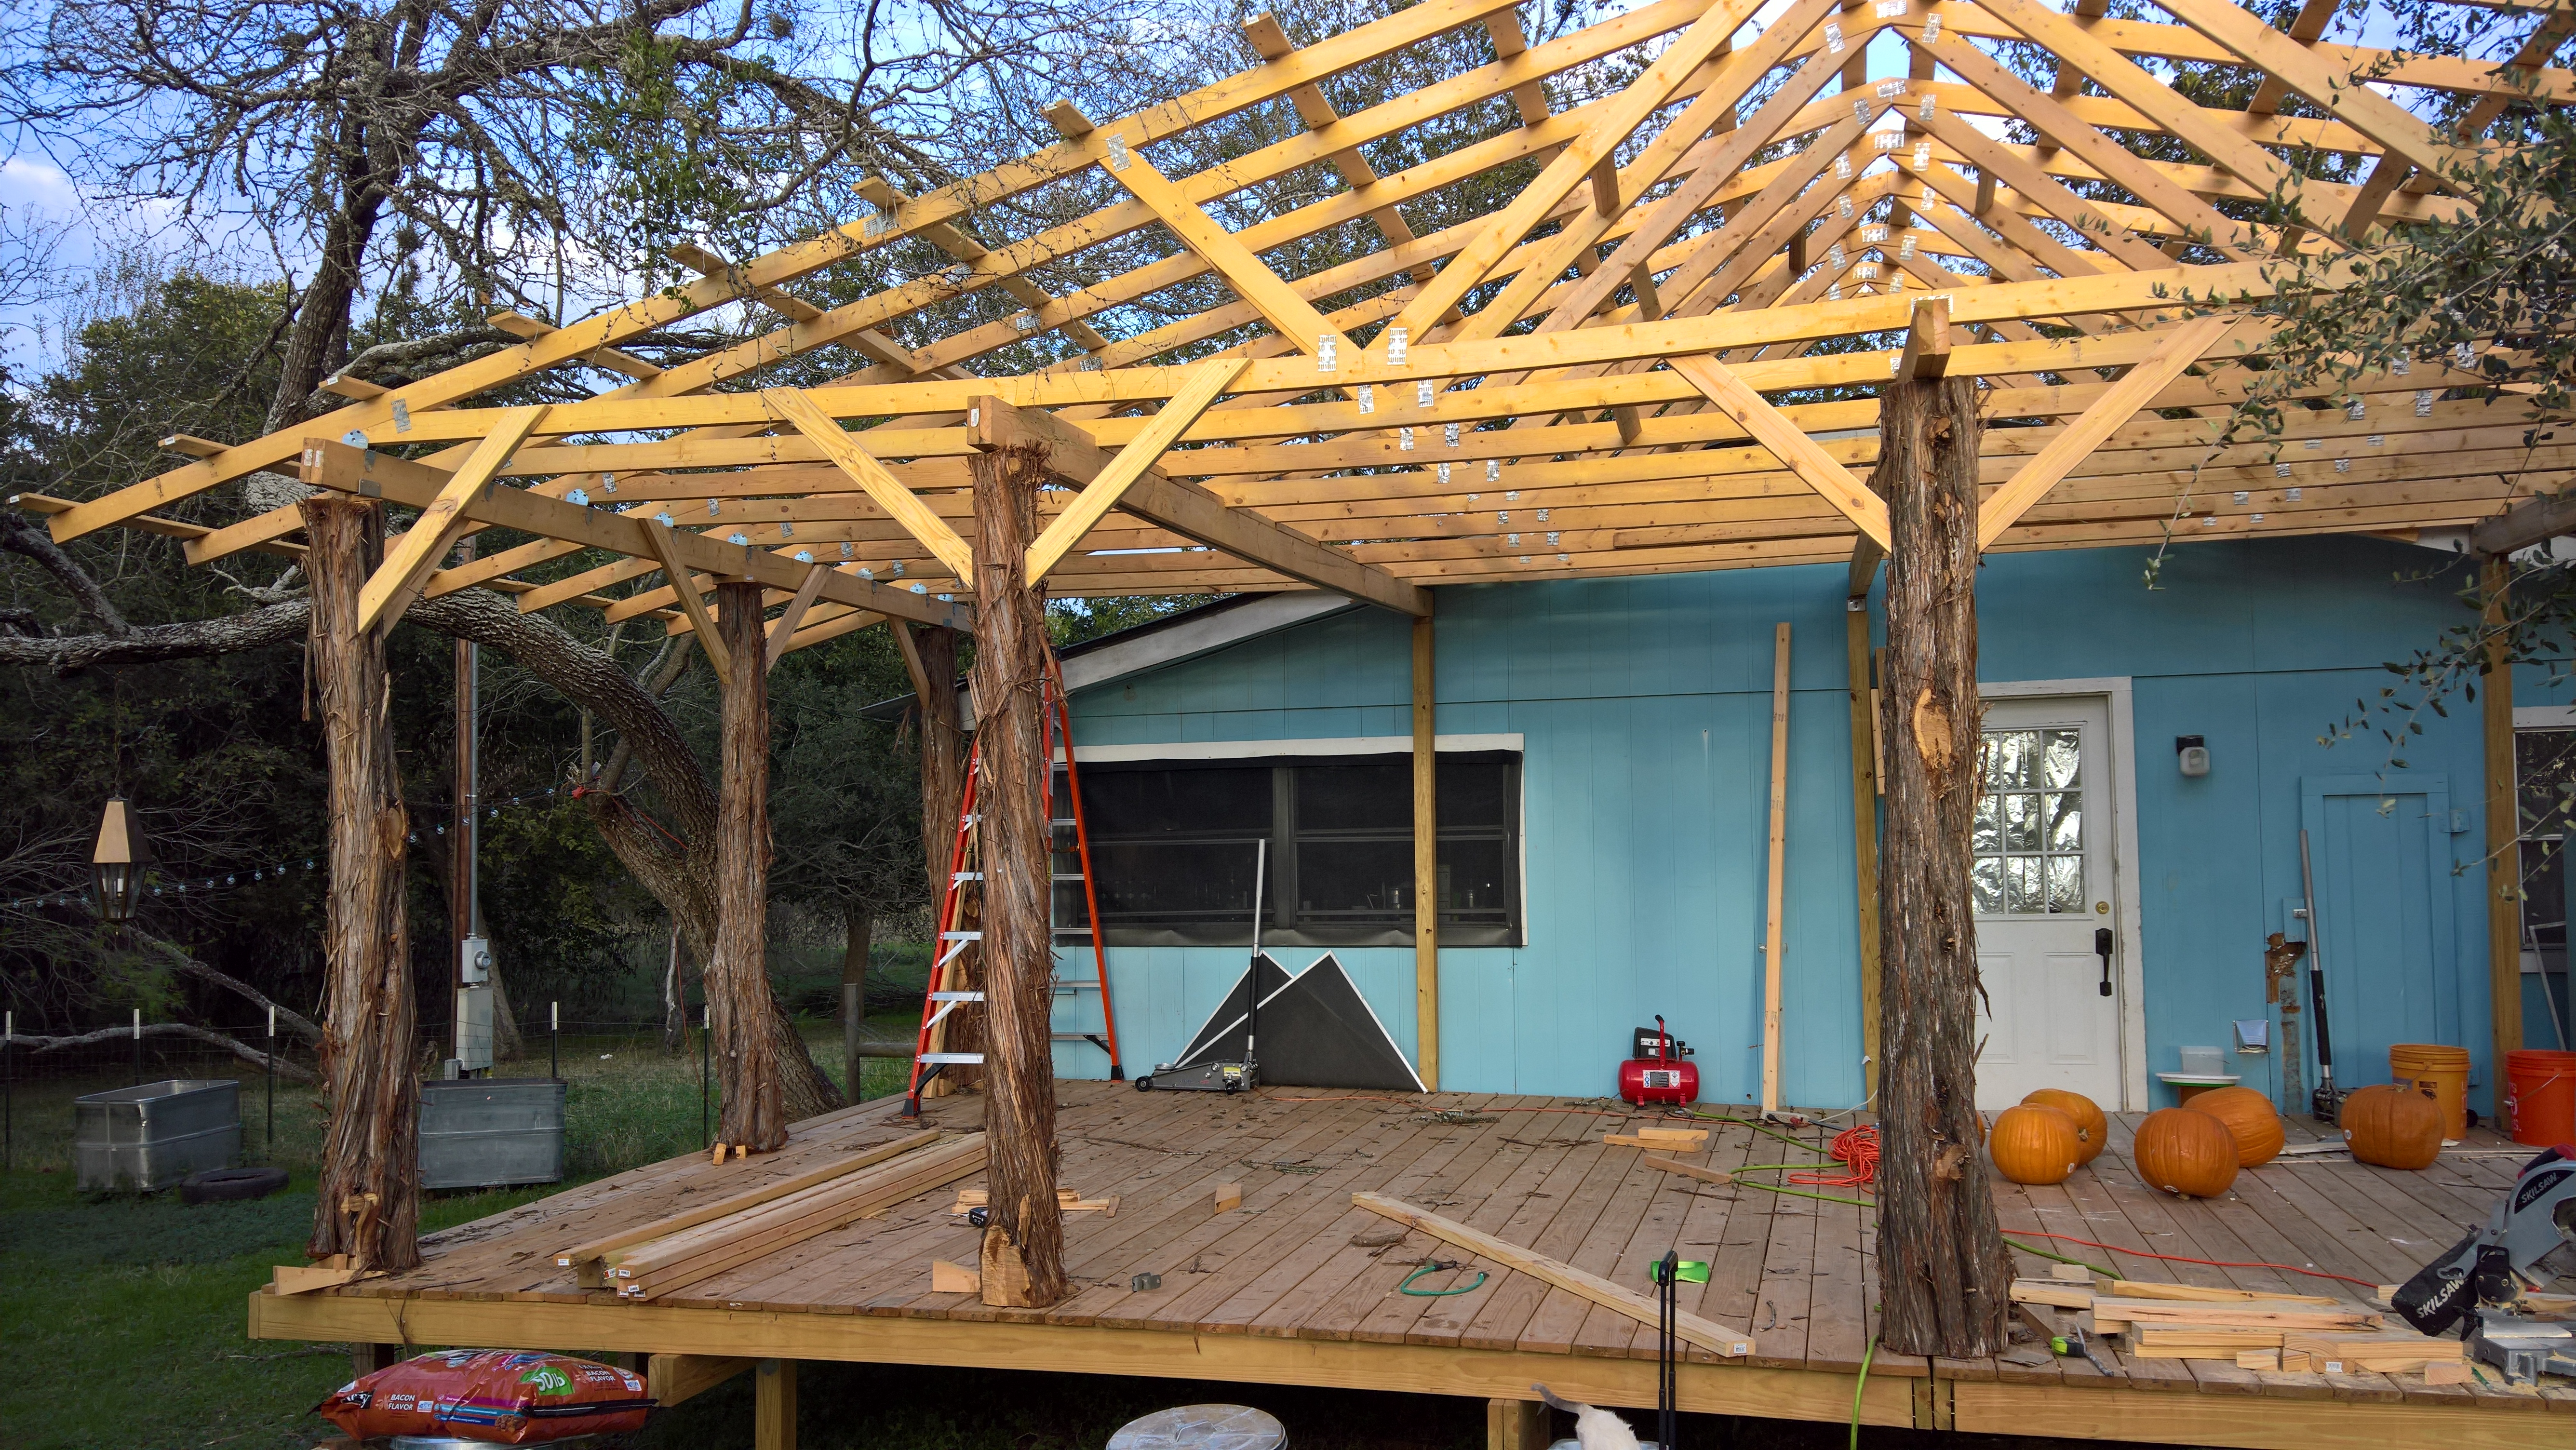
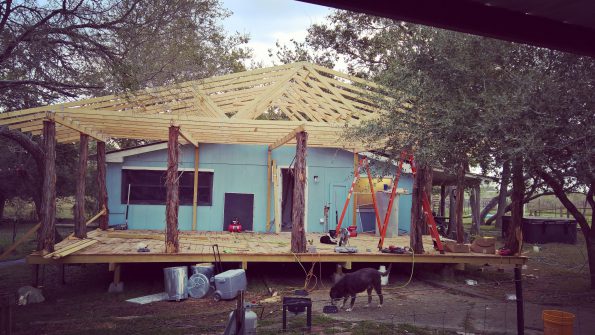
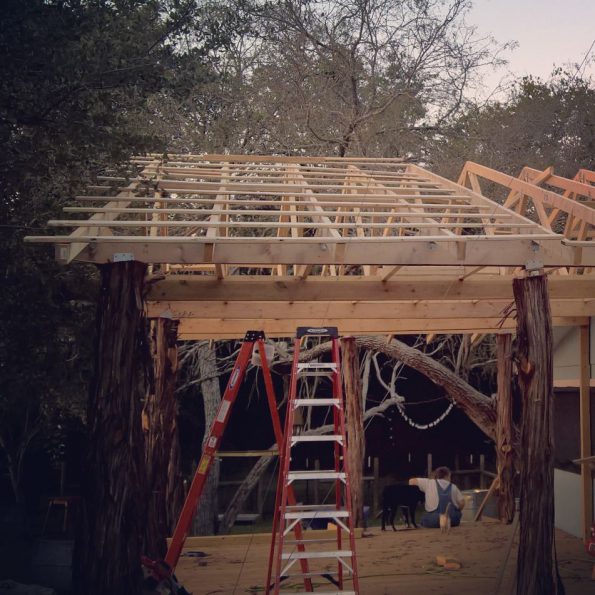
Our weekend project…more work on the outdoor kitchen. This weekend, we were able to get the remaining cedar posts up as well as the remaining two rafters. Finished out the rafters with spacers for extra stability, then began on the furring strips (below). Thirty-three more furring strips, and we’ll be ready for the metal roofing.

591ca7b6-bead-4c57-bf7d-f403e4431afd